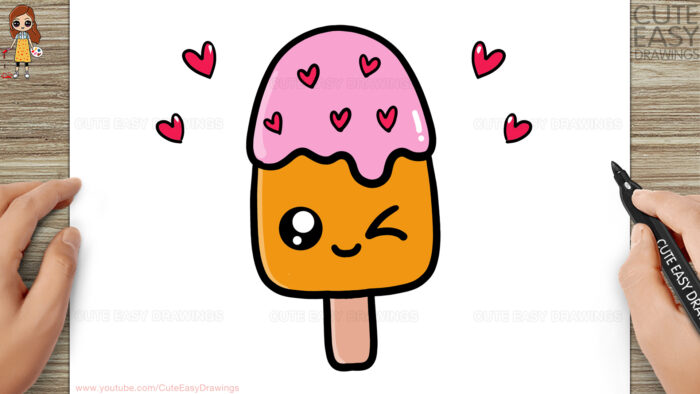
In this tutorial you’ll learn how to draw a cute ice cream stick in easy step-by-step instructions. The tutorial is designed to be beginner-friendly, so anyone can follow along and create their own adorable ice cream drawing. Grab a pencil and paper, and get ready to unleash your inner artist!
To begin, gather a few basic materials to Draw a Cute Ice Cream:
- Paper: Choose a blank sheet of paper that is suitable for drawing. It can be any size you prefer, but make sure it’s large enough to accommodate your drawing.
- Pencils: Grab a set of pencils with different lead grades, such as HB, 2B, and 4B and color markers. These will help you create different line thicknesses and add depth to your artwork.
- Eraser: Keep a soft eraser handy to easily correct any mistakes or make adjustments as needed.
Watching the video tutorial will provide you with visual guidance and a clearer understanding of the drawing process. It will also give you a chance to see the techniques in action and help you create your own unique version of the cute Ice Cream.

Free Coloring Pages for Your Inbox!
We’ll never spam you — just fun stuff for you and your little artist. Pinky promise.😊


Comments are closed.