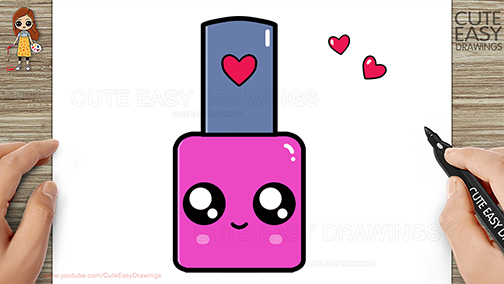
Drawing can be a fun and creative activity for kids and toddlers. It allows them to explore their imagination and develop their artistic skills. In this blog post, we will guide you on how to draw a cute nail polish design that is both simple and enjoyable to create.
Materials Needed
Before we begin, gather the following materials:
- Pencil
- Eraser
- Color markers or crayons
Now that you have everything ready, let’s dive into the step-by-step process of drawing a cute nail polish!
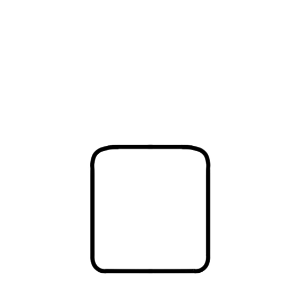
Step 1: Drawing the Body
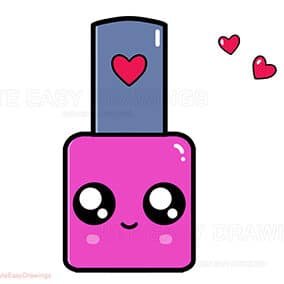
- Start by drawing a vertical square shape for the body of the nail polish.
- This will be the main part of our drawing.
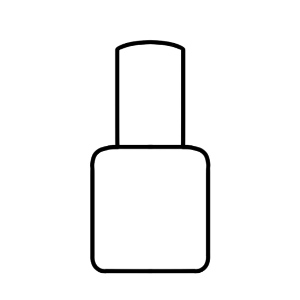
Step 2 (Continued): Drawing the Cap Outline
- Add a smaller rectangular shape on top of the body to create the cap of the nail polish.
- Make sure to leave some space between the body and the cap.
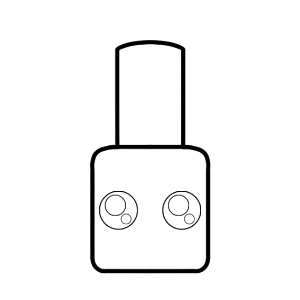
Step 3: Adding Eyes
- Draw two small circles near the top of the body shape.
- Within each circle, draw a smaller circle for the pupils.
- This will give our nail polish design a cute and friendly look.

Step 4 (Continued): Adding the Heart
- Draw a curved line that starts from the body and extends downward.
- Form the shape of a heart on the cap.
- Adjust the size and shape of the heart according to your preference.
Step 5: Coloring the Nail Polish
This is the most exciting part! Grab your color markers or crayons and choose your favorite colors for the nail polish design. You can get creative here and experiment with different color combinations. Fill in the body of the nail polish with vibrant colors, and don’t forget to color the cap as well. Use your imagination to make it as colorful and unique as you want!
Once you finish coloring, take a step back and admire your adorable nail polish drawing.
Conclusion
Congratulations! You have successfully learned how to draw a cute nail polish design that is easy and perfect for kids and toddlers. Drawing is a wonderful way to express your creativity and have fun. Remember, practice makes perfect, so keep drawing and exploring your artistic skills.
Now that you know how to draw a cute nail polish, why not try different nail polish designs or create your own unique variations? The possibilities are endless, and the only limit is your imagination!
Frequently Asked Questions (FAQs)
- Q: Can I use crayons instead of color markers for this drawing?
- Yes, you can definitely use crayons instead of color markers. Crayons will work just as well and can create vibrant and colorful nail polish designs.
- Q: Is this drawing suitable for beginners?
- Absolutely! This drawing tutorial is designed to be easy and simple, making it perfect for beginners, kids, and toddlers.
- Q: Can I add glitter or other decorations to my nail polish drawing?
- Of course! Feel free to add extra details like glitter or other decorations to make your nail polish design sparkle and stand out.
- Q: How long does it take to complete this drawing?
- The time it takes to complete this drawing will vary depending on your drawing speed and level of detail. On average, it can be completed in about 15-30 minutes.
- Q: Where can I find more inspiration and tutorials for cute and easy drawings?
- Definitely! You can experiment with different shapes and sizes for the body and cap of the nail polish to create unique and interesting designs.
Get creative and have fun while drawing your cute nail polish design! Remember, the most important thing is to watch the video enjoy the process and let your imagination guide you.
Table of Contents

Free Coloring Pages for Your Inbox!
We’ll never spam you — just fun stuff for you and your little artist. Pinky promise.😊


Comments are closed.