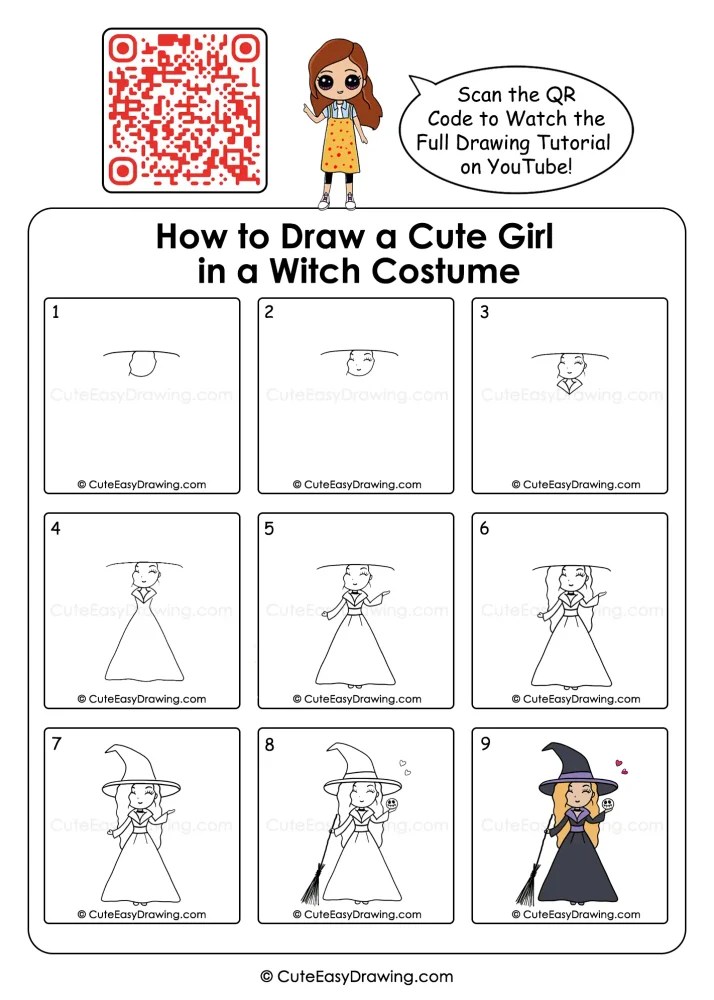
Learning to draw can feel much easier when children work with a character they find interesting. This tutorial breaks a charming witch character into small, manageable stages, so parents can guide children without making the activity feel difficult. The cute witch girl drawing is also a nice opportunity for beginners to practice building a character from the top down. Children can concentrate on one part at a time rather than worrying about completing the entire figure immediately.
What You’ll Learn in This Drawing
Why Parents May Want to Try This Character Activity
This tutorial offers several useful learning opportunities beyond simply making a finished picture.
- It introduces character construction: Children see how a face, clothing, arms, hair, and accessories can gradually become one complete figure.
- It makes clothing easier to understand: The collar, waist section, sleeves, and wide skirt give beginners different shapes to observe.
- It gives children a clear finish line: Nine stages make the activity feel achievable instead of overwhelming.
- It combines drawing with storytelling: A broom, witch hat, hearts, and little skull can encourage children to imagine their own Halloween character.
Simple Supplies to Set Up Before Drawing
- Sketching Pencil ✏️ — Use gentle strokes to build the character’s first shapes and outlines.
- Blank Art Sheet 📄 — Pick a clean, spacious sheet where the tall witch character can fit without feeling crowded.
- Correction Rubber 🧽 — Handy for softly clearing guide marks and making small changes along the way.
- Coloring Tools 🎨 — Use crayons or colored pencils to give the costume, hair, hat, and accessories a cheerful finish.
- Outline Marker 🖊️ — Trace the important lines at the end to make the completed character look clean and defined.
Watch the Tutorial 🎥
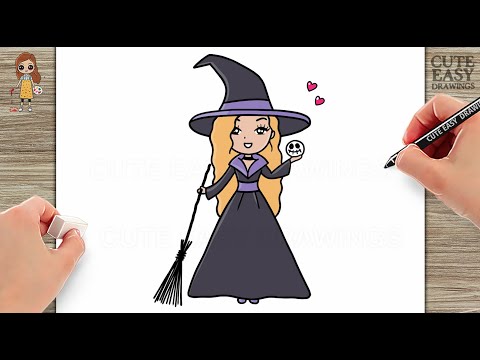
You can watch the full girl in witch costume drawing step by step tutorial on our YouTube channel to draw along easily with your child.
Cute Witch Girl Drawing: Follow These 9 Stages
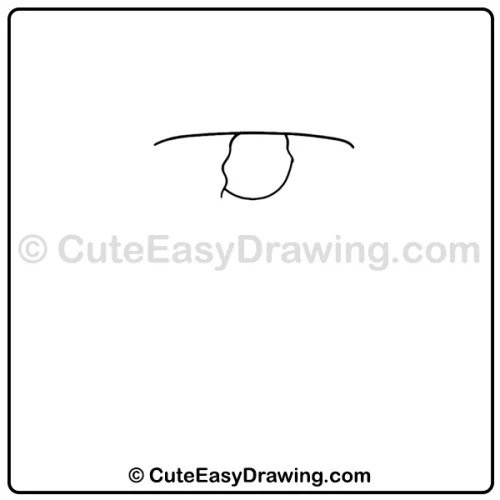
Step 1: Begin with the Head
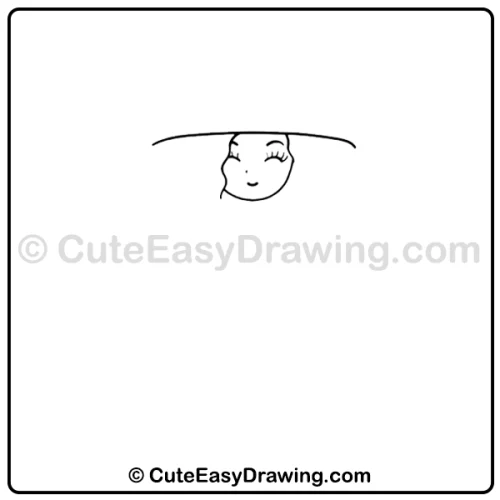
Begin this witch girl drawing for kids near the upper-middle portion of the paper. Create a simple curved outline beneath a long guideline. Keep the shape small enough to leave plenty of room underneath for the body.
Parent prompt: Ask your child to think about where the character’s head should sit before making the first line.
Step 2: Give the Face Its Features
Build on the head by adding the simple face next in this cute witch drawing. The reference shows closed, curved eyes and a tiny smiling mouth. Keep these details light and uncomplicated.
Drawing idea: Encourage children to make the eyes gently rather than pressing hard with the pencil.
Step 3: Add the Collar
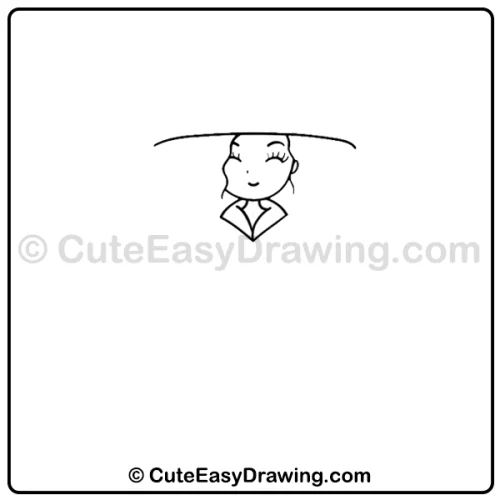
The next stage in this easy witch drawing for beginners introduces the character’s clothing around the neck. Draw the pointed collar beneath the face, creating the first clear suggestion of the witch costume.
Parent prompt: Point out how two angled shapes can make clothing look more interesting without requiring complicated details.
Step 4: Build the Dress
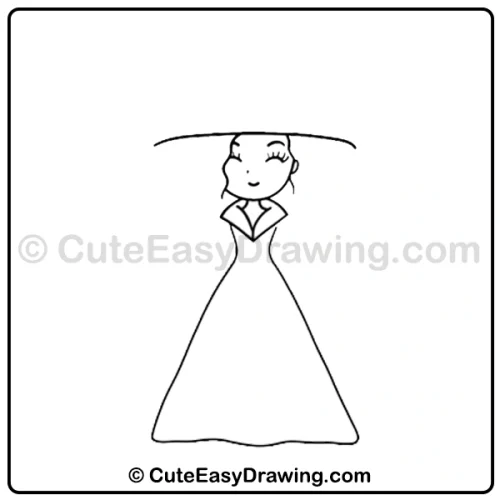
Extend the character downward from the collar and create the large, flowing skirt. The dress widens toward the bottom, giving this Halloween drawing for kids a graceful appearance.
Beginner focus: Encourage your child to look at the overall outline rather than trying to make every curve perfectly symmetrical.
Step 5: Draw the Arms and Waist
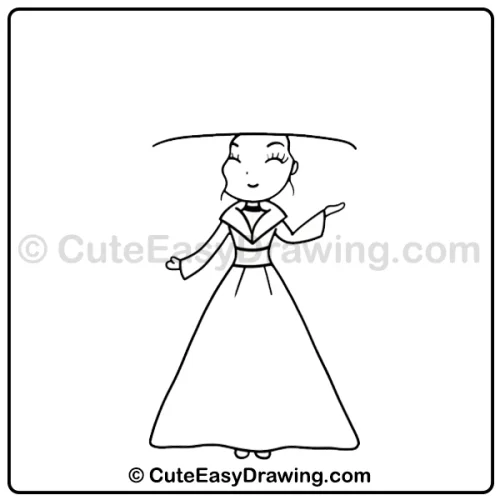
Add both arms, including the raised hand on one side and the lower hand on the other. Then define the waist area and add the small details on the dress.
The pose makes this witch character drawing look lively and expressive.
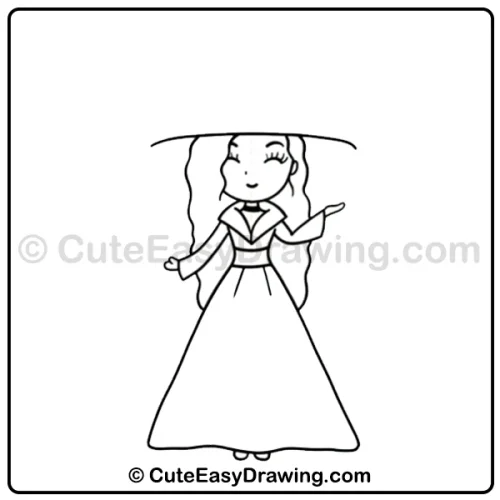
Step 6: Add the Long Hair
Now surround the character of this simple Halloween character drawing, with long, wavy hair. The hair falls down both sides of the body and extends toward the lower part of the dress.
Helpful approach: Draw the hair as flowing sections instead of trying to create dozens of individual strands.
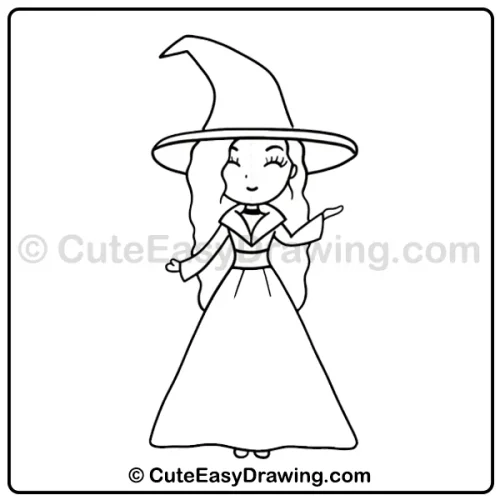
Step 7: Place the Witch Hat
The large pointed hat is added above the head. Follow the reference to create the wide brim and tall, curved top.
At this stage of this kids Halloween art activity, the character begins to look clearly like a little witch.
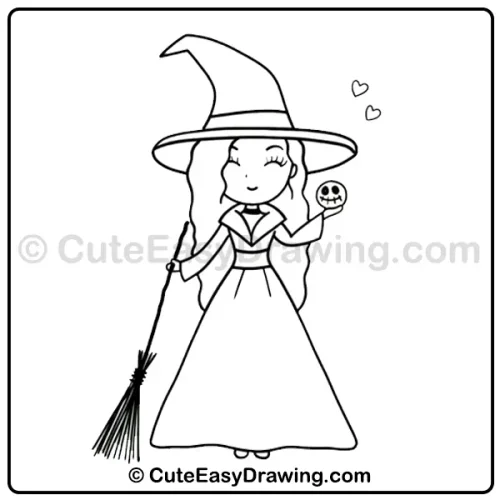
Step 8: Add the Magical Accessories
Complete the character with the broom and the small skull held in one hand. The reference also includes two little hearts beside the hat.
These small additions give children a chance to practice drawing different objects while keeping the main character unchanged.
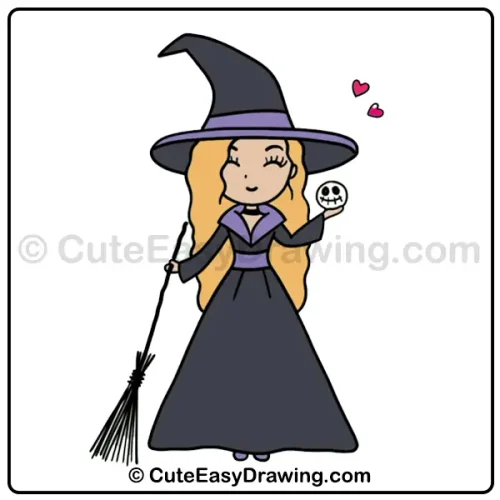
Step 9: Give Your Little Witch a Magical Splash of Color
The final reference of this beginner character drawing for children shows the completed character in color. The hat and dress use dark tones with purple accents, while the hair is golden blonde. The face has a warm skin tone, and the hearts add bright pops of color.
Children can use the reference palette or create their own version. They might choose a different hat color, hair shade, or dress combination.
Helping Children Get Better Results
- Use a separate practice area: Let children test a curve or shape in the corner of the page before adding it to the character.
- Work from large shapes to small details: Finish the body and costume before worrying about tiny features.
- Use visual comparison: Ask, “Is your hat wider than the head?” rather than saying that something is wrong.
- Try an outline-only version first: Coloring can come later, after the child feels comfortable with the structure.
- Let children personalize the final character: Changing colors or adding tiny decorations gives them ownership of the artwork.
A Creative Finish to Your Witchy Adventure
A drawing session does not need to produce a perfect picture to be worthwhile. For children and beginners, the real value comes from learning to observe, make decisions, adjust lines, and continue even when a shape looks different from the reference. This cute witch girl drawing gives parents a simple framework for that kind of practice while leaving plenty of room for personal creativity.
FAQs ❓
1. Should my child draw the whole character in one sitting?
Not necessarily. Completing two or three stages at a time can make the activity more relaxed, especially for children who are still developing pencil control.
2. How can I help if my child struggles with the long dress?
Suggest drawing the two sides separately and checking their direction before connecting them at the bottom. The skirt does not need to be perfectly identical on both sides.
3. Is coloring necessary after the outline is complete?
No. The line drawing is already a finished artwork. Coloring is simply another opportunity for children to explore choices and creativity.
4. Can beginners change the witch’s appearance?
Yes. Once the main structure is understood, children can experiment with hair color, clothing colors, hat decorations, facial expressions, or additional background elements.
5. Where can we watch the full tutorial?
You can watch the complete drawing tutorial on our YouTube channel.
Cute Easy Drawings – Learn Step-by-step

Free Coloring Pages for Your Inbox!
We’ll never spam you — just fun stuff for you and your little artist. Pinky promise.😊