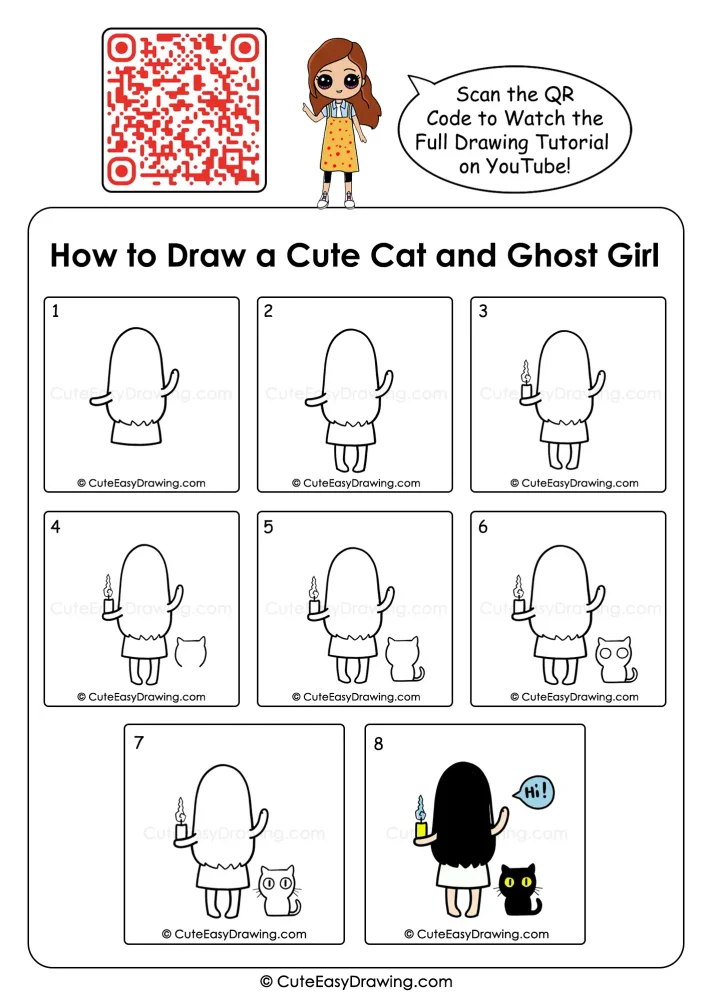
Halloween drawings do not have to look scary. This cheerful character gives children a chance to practice simple shapes while creating a friendly ghost girl holding a tiny candle beside her cat. This cute ghost girl drawing can be a relaxed parent-child activity because each new detail is added gradually, making the picture easier to manage. Children can work through the stages at their own pace and enjoy seeing the scene develop.
What You’ll Learn in This Drawing
Why Kids May Love Creating This Ghost Character
- It breaks a larger picture into manageable parts. Children can concentrate on one object at a time instead of trying to finish everything together.
- It introduces character design. The ghost is more than a shape because the candle, clothing, cat, and speech bubble give the scene personality.
- It encourages visual memory. Kids can notice repeated forms such as rounded curves, simple lines, and small shapes.
- It works for different skill levels. Beginners can concentrate on the outlines, while more confident children can add their own decorative details.
- It creates a natural coloring opportunity. The final stage gives children a chance to make decisions about bright and dark areas.
Supplies for a Relaxed Drawing Session
- Pencil — Use it to create the first light outlines.
- Eraser — Keep it nearby for correcting or refining lines.
- Drawing paper — Choose a clean sheet with enough space for the complete character.
- Sketch pens, colored pencils, or crayons — Let your child pick their favorite coloring tools.
- Black marker or sketch pen — Use it to trace and strengthen the final outlines.
Watch the Tutorial 🎥
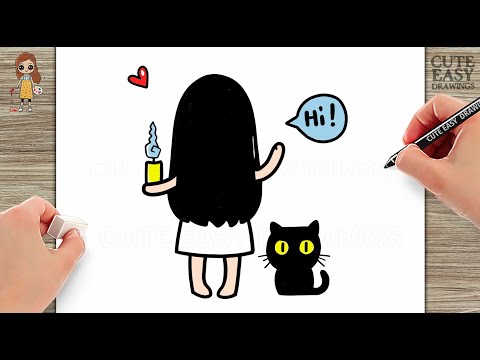
You can watch the full ghost and cat drawing step by step tutorial on our YouTube channel to draw along easily with your child.
8 Stages to Build This Cute Ghost Girl Drawing Scene
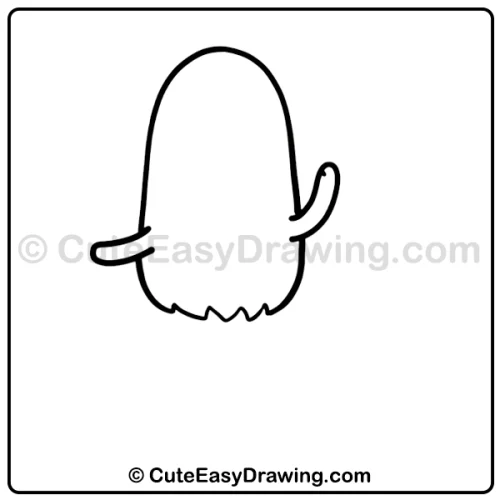
Step 1: Form the Rounded Ghost Body
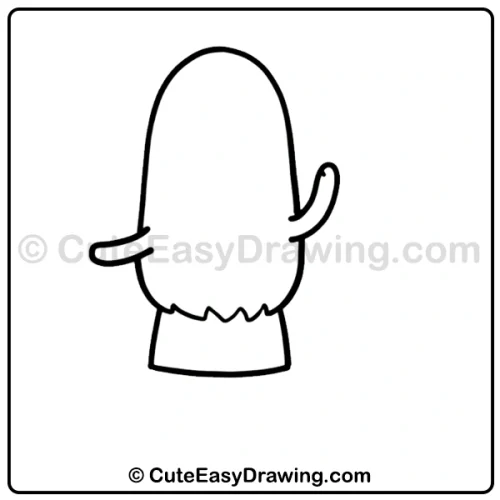
Start this ghost girl drawing for kids with the main character. Draw a tall, rounded outline with a smooth curved top and gently narrowing sides. Add the two small arms extending outward. Finish the lower edge with a few soft, uneven points to give the character a ghostly look.
Keep the lines loose at first. The goal is to establish the overall shape rather than make every curve perfect.
Step 2: Add the Simple Dress
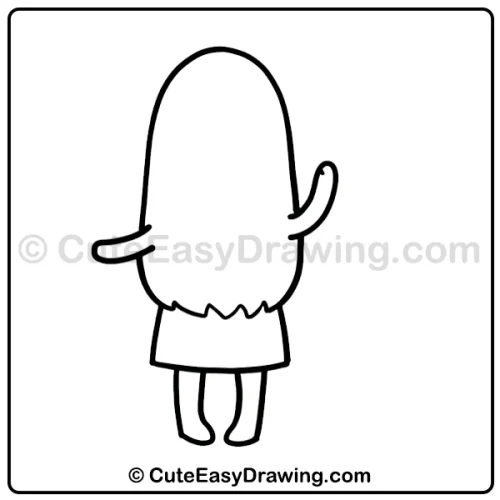
Place a short dress underneath the ghost body. The upper edge sits beneath the jagged lower part of the ghost, while the sides angle slightly outward. Keep the bottom edge gently curved.
This simple clothing shape gives this cute ghost drawing a clear body structure without requiring complicated details.
Step 3: Draw the Two Legs
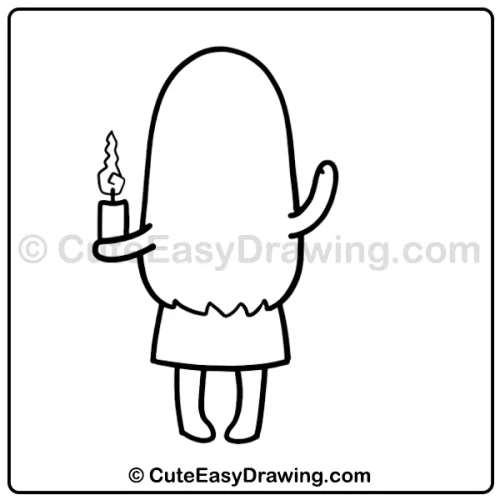
Next in this ghost and cat drawing add two narrow legs beneath the dress. Give each leg a slightly different curved shape so they look natural and playful.
At this stage of this Halloween drawing for kids, your child can check whether both legs begin at approximately the same level. Small differences are perfectly fine and can make the drawing feel handmade.
Step 4: Place the Candle in Her Hand
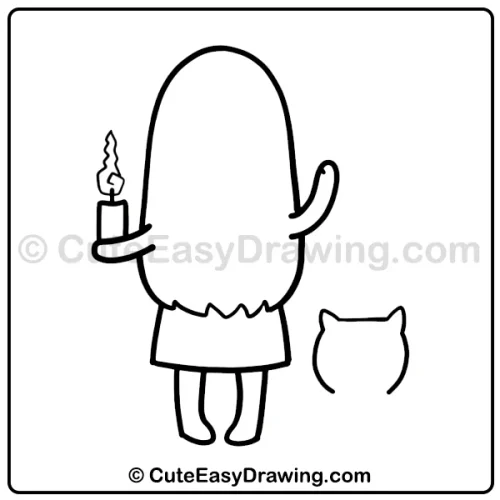
Draw a small candle beside the left arm. Begin with a short rectangular candle, then add the wick and a wavy flame above it.
The candle becomes an important visual detail because it gives the Halloween character in this easy ghost drawing something to hold, adding a warm little story to the scene.
Step 5: Start the Cat With Its Head
Next in this Halloween art for children, move to the companion animal. Draw the cat’s head using a rounded shape with two pointed ears. Keep the head relatively small compared with the ghost girl.
Don’t worry about adding the facial features in this beginner character drawing yet. Establishing the outer silhouette first makes the cat easier for beginners to construct.
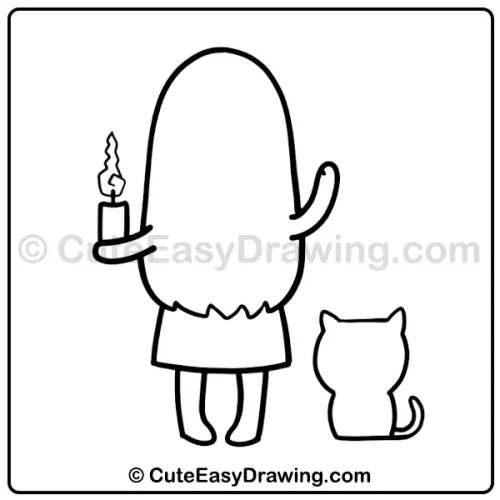
Step 6: Give the Cat a Body and Curved Tail
Extend the cat’s head into a compact body. Add its legs and a curved tail that curls upward beside it.
The cat in this simple Halloween drawing can remain very simple. A few clean shapes are enough to make it instantly recognizable and keep the activity manageable for young children.
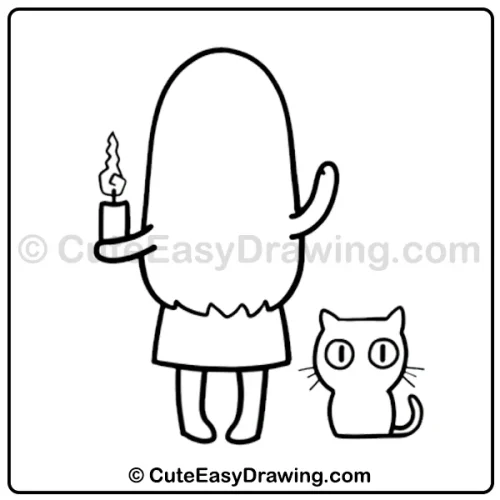
Step 7: Add the Cat’s Eyes and Facial Details
Draw two large, simple eyes inside the cat’s face next in this cute Halloween drawing. Add the small vertical details within them and finish with short whisker lines on both sides.
This is where the cat begins to feel like a character rather than an outline. Encourage children to take their time with the spacing of the eyes.
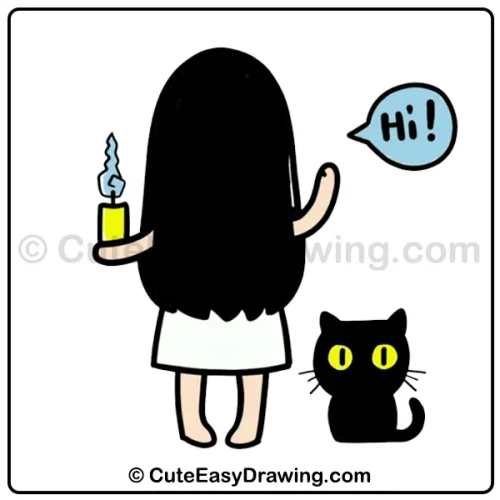
Step 8: Add Color and the Friendly Greeting
Now complete the scene with color. In the finished artwork, the ghost girl’s hair is deep black, while her skin and legs have a light peach tone. The candle is yellow with a blue flame, and the cat is black with bright yellow eyes.
Finally, add the small blue speech bubble containing “Hi!” near the raised hand. These final details give the picture its cheerful personality.
New Ways Parents Can Make Drawing Easier
- Instead of correcting every line, try guiding your child through the process with small, useful prompts.
- Give one instruction at a time. Say “Let’s finish the body first” rather than explaining the entire picture at once.
- Ask observation questions. Try “Which part is taller—the ghost or the cat?” This encourages children to notice proportions naturally.
- Turn mistakes into design choices. A slightly uneven arm can become a waving arm, and an unusual curve can become part of the character.
- Practice difficult shapes separately. If a child struggles with the rounded body, let them draw a few loose curves on another piece of paper first.
Your Ghost Girl Artwork Is Ready
A Halloween picture can be a wonderful opportunity for children to slow down, observe shapes, and enjoy making something with their own hands. The combination of a friendly ghost, tiny candle, and curious cat keeps the activity interesting without making the drawing overly complicated. With patience and encouragement, cute ghost girl drawing can become a fun little project that children are proud to show their family.
FAQs ❓
1. What age is suitable for this drawing activity?
It can work well for young children who are beginning to control a pencil, as well as older beginners who enjoy simple character illustrations. Parents can adjust how much help they provide according to the child’s ability.
2. Should my child draw the ghost or the cat first?
The ghost is the larger character and forms the main part of the scene, so beginning with it can make the overall composition easier to understand. The cat can then be added as a smaller companion.
3. How can I help if my child struggles with the ghost’s curved outline?
Encourage them to make the outline slowly using several gentle pencil movements. They do not need to complete a long curve perfectly in a single motion.
4. Can children add more Halloween decorations?
Yes. Once the main characters are finished, children can add small stars, pumpkins, clouds, bats, leaves, or a moon around the scene, provided there is enough open space.
5. Where can we watch the full tutorial?
You can watch the complete drawing tutorial on our YouTube channel.
Cute Easy Drawings – Learn Step-by-step

Free Coloring Pages for Your Inbox!
We’ll never spam you — just fun stuff for you and your little artist. Pinky promise.😊