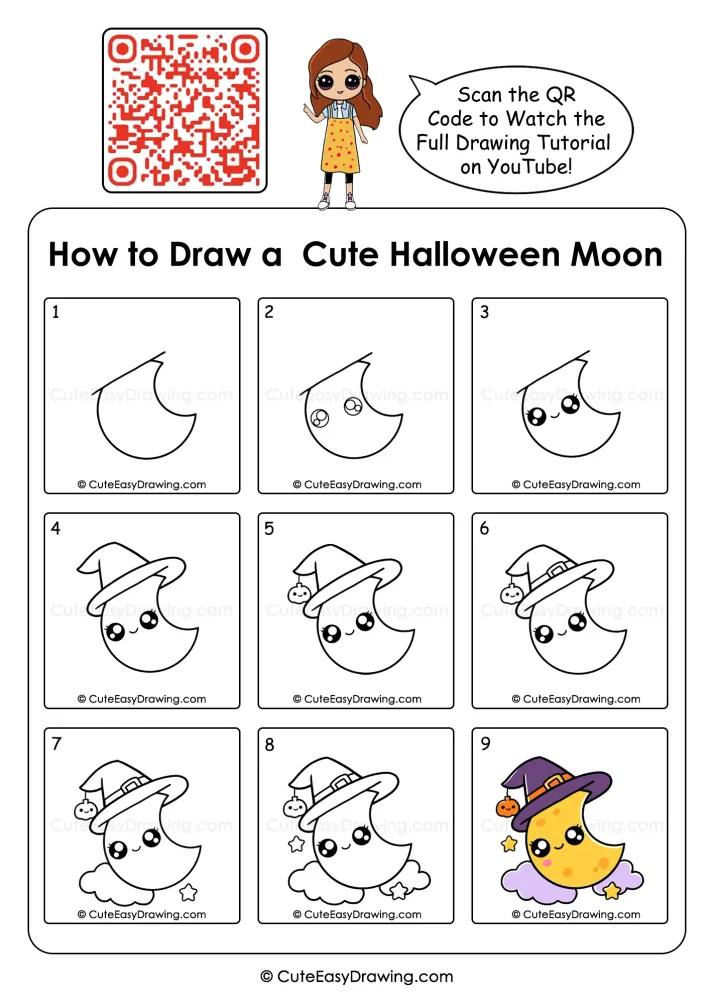
A smiling crescent moon wearing a witch hat makes a lovely Halloween project for little artists who enjoy cute illustrations with a touch of spooky magic. This cute Halloween moon drawing tutorial guides parents and children through nine visual stages. Each stage helps young learners understand how a few curved lines and small details can transform a blank sheet of paper into a charming picture. Grab some pencils and colors and enjoy this creative Halloween activity together!
What You’ll Learn in This Drawing
Why Families Will Love This Halloween Drawing Activity
- A seasonal activity without complicated preparation: Children can enjoy a Halloween-inspired art project using ordinary drawing supplies already available at home.
- A friendly alternative to scary Halloween pictures: The moon’s cheerful expression, tiny pumpkin decoration, and smiling details make the illustration playful rather than frightening.
- A chance to learn through observation: Kids can compare each reference image with their own work and notice how the character develops from a few lines into a complete illustration.
- An opportunity for parent-child collaboration: Parents can demonstrate a tricky curve or explain where a detail belongs while allowing children to complete the drawing themselves.
Pencils, Colors, and a Sprinkle of Halloween Magic
- Sketching Surface — Drawing sheet or a blank sketchbook page.
- Graphite Pencil — HB pencil for creating the initial outlines.
- Correction Eraser — Soft eraser for removing unwanted pencil marks.
- Fine-Line Marker — Black fineliner or felt-tip pen for outlining the finished illustration.
- Coloring Pencils and Crayons — Use wax-based colored pencils, soft-core colored pencils, or watercolor pencils for smooth coloring and easy blending.
Watch the Tutorial 🎥

You can watch the full kawaii moon drawing step by step tutorial on our YouTube channel to draw along easily with your child.
Let’s Create a Cute Halloween Moon Drawing in 9 Fun Steps
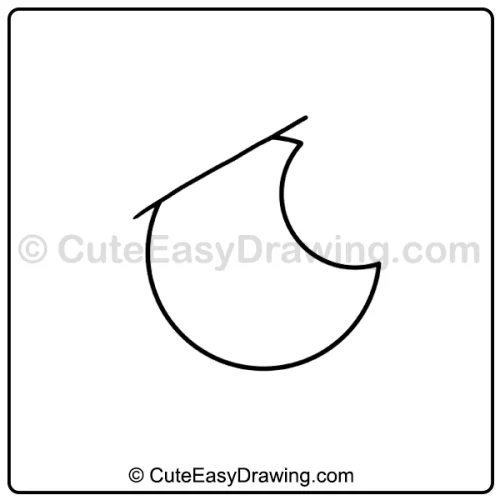
Step 1: Create the Crescent Moon’s Main Outline
Draw a slanting line across the upper part, then curve the line downward and around to form the moon’s rounded lower edge.
Create the inward curve on the right side of this easy Halloween moon drawing for kids, leaving the familiar crescent silhouette.
Parent’s note: Show your child how the inward curve and the rounded outer edge work together to create the moon’s shape.
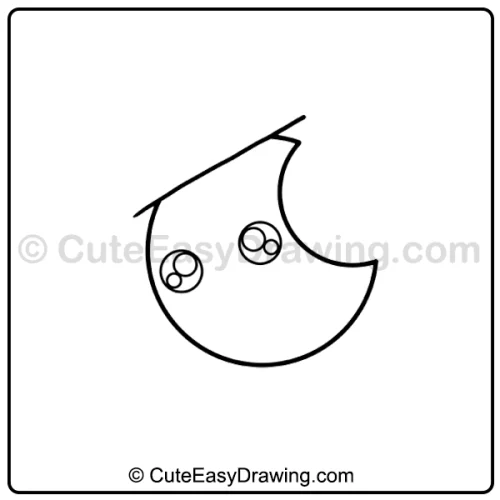
Step 2: Add the Moon’s Sparkling Eyes
Draw two large circular eyes inside the moon of this smiling moon drawing for kids. Place them comfortably apart, leaving space between them for a small curved smile.
Parent’s note: Encourage your child to look at the reference before deciding where each eye should go.
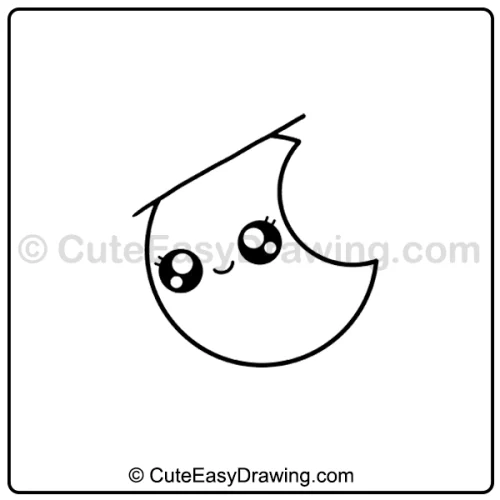
Step 3: Create Shiny Eye Details and a Smile
Add smaller circles inside both eyes to create the highlights. Use a larger highlight and a smaller one in each eye, following the reference illustration.
These little spaces will remain white when the surrounding areas are filled with black. Next in this cute crescent moon with witch hat drawing, add a smile between the eyes.
Parent’s note: If the circles look uneven, let your child keep them. Slight differences can make the character feel personal.
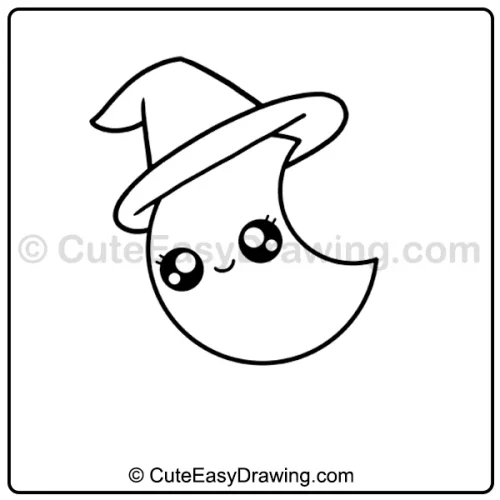
Step 4: Draw the Witch Hat
Draw a tall, curved, pointed crown with a floppy section leaning toward the left. Add a descending line to connect the crown to the area where the brim will sit in this easy witch hat drawing.
Create the broad, sweeping brim across the front of the hat. Use two long, curved lines to give the brim its thickness and pointed, curled appearance.
Parent’s note: Invite your child to trace the direction of the hat’s curves in the air before drawing them on paper.
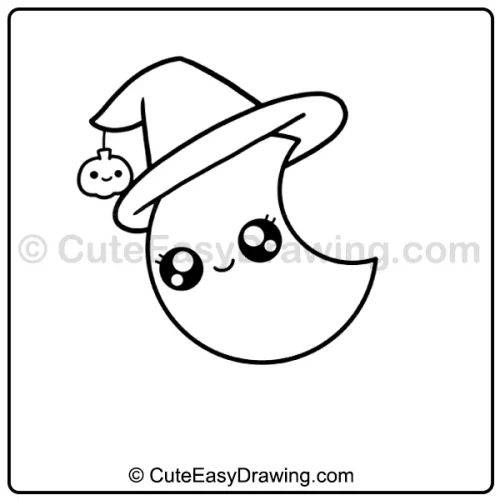
Step 5: Add the Pumpkin Charm
Next in this moon drawing with pumpkin charm, add a small hanging string on the left and draw a tiny pumpkin-shaped charm beneath it.
Parent’s note: Work on the brim slowly because it overlaps the moon’s upper area. The pumpkin charm can be added after the main hat shape is clear.
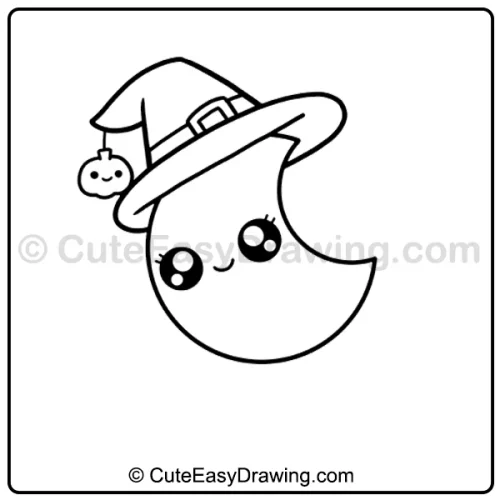
Step 6: Add the Buckle
Add a small rectangular buckle with a rounded outline near the crown of this Halloween moon and stars drawing. Darken the important contours once the shapes look right.
Parent’s note: Let your child use short, controlled strokes for the buckle instead of trying to draw the entire shape in one movement.
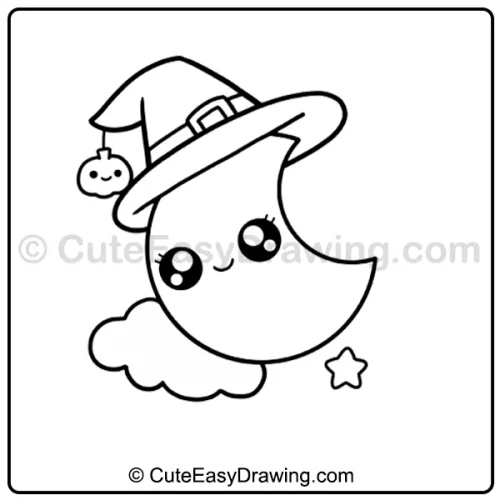
Step 7: Draw the Floating Stars and Cloud
Add a small five-pointed star on the lower-right side of the moon. Also, beneath the character, draw a soft, bumpy cloud shape that stretches across the lower portion.
Parent’s note:The cloud is made from connected curves, so children can build it one rounded section at a time.
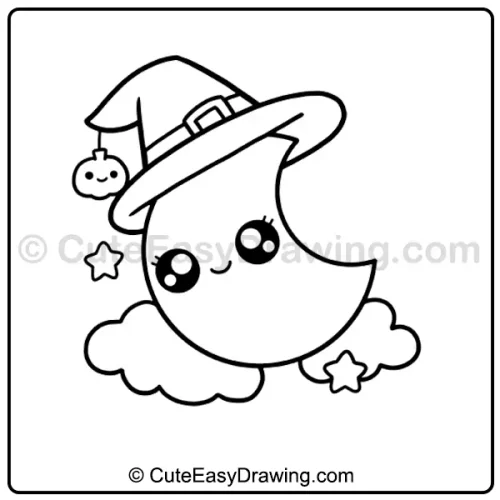
Step 8: Add the Second Star and Cloud
Draw a five-pointed star on the left side of the moon in this moon and cloud drawing for beginners.
Next, create another cloud around the star on the lower-right side of the moon.
Parent’s note: Ask your child to check the drawing from top to bottom. This makes the final review feel like a simple art challenge.
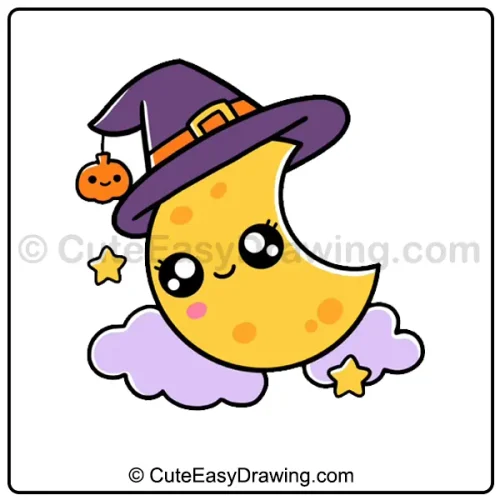
Step 9: Color the Halloween Moon
Use bright colors like orange, yellow, pink, and purple to color your artwork. Keep the eyes mostly black with white highlights to preserve their shiny appearance.
Parent’s note: Follow the reference palette for a similar result, or let your child choose slightly different shades to make the artwork their own.
Fresh Ways to Help Young Artists Enjoy the Process
- Break down difficult curves: If the crescent or hat brim feels tricky, practise the same type of curve on a spare sheet before returning to the main drawing.
- Use a visual checklist: Write down the main elements—moon, face, hat, pumpkin, stars, and cloud. Children can check them off as they complete each part.
- Offer one instruction at a time: Instead of explaining the whole picture at once, focus on the current stage. This helps children understand what to do next without feeling overwhelmed.
- Notice specific improvements: Praise a carefully drawn curve, well-placed eye, or neatly colored star. Specific feedback helps children understand what they did well.
- Keep a first attempt: Save the first drawing alongside later attempts. Children can see their progress over time and become more comfortable trying new illustrations.
That’s a Wrap on Your Moonlight Drawing Adventure!
Parents can make the drawing experience even more meaningful by celebrating each stage of progress. This cute Halloween moon drawing is a cheerful way to introduce young beginners to character illustration while enjoying the playful atmosphere of Halloween. Keep the pencils handy, make room for imagination, and let every little artist enjoy creating a moon with a personality of its own!
FAQs ❓
1. Is this Halloween illustration suitable for children who have never drawn a character before?
Yes. The picture is built from recognizable shapes, including curved lines, circles, a pointed hat, and simple stars. A beginner can work through the reference images gradually with help from an adult when needed.
2. How can I help my child understand the crescent shape?
Show your child pictures of crescent moons or draw a simple crescent on another sheet. Explain that one edge curves outward while the opposite edge curves inward. Practising the shape separately can make the main outline easier to understand.
3. What should children do if the witch hat looks different from the reference?
Encourage them to compare the overall shape rather than erase every difference. The important features are the pointed crown, wide brim, and small buckle. With practice, children can improve their control over the curves.
4. How can I make this activity easier for a child who struggles with small details?
Complete the large moon, hat, and cloud shapes first. Then add the pumpkin, buckle, stars, and facial details one at a time. An adult can demonstrate a small feature on spare paper before the child tries it independently.
5. Where can we watch the full tutorial?
You can watch the complete drawing tutorial on our YouTube channel.
Cute Easy Drawings – Learn Step-by-step

Free Coloring Pages for Your Inbox!
We’ll never spam you — just fun stuff for you and your little artist. Pinky promise.😊