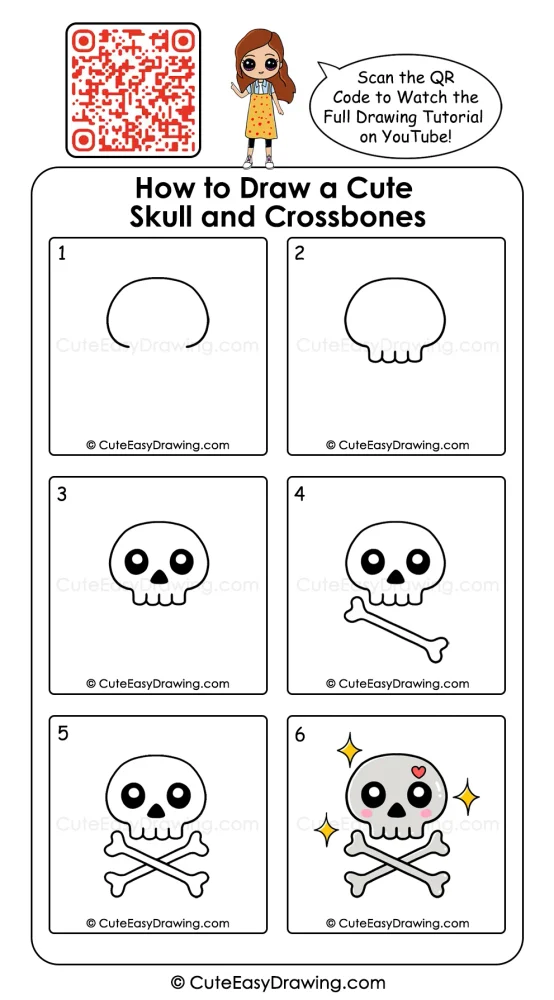
Halloween drawing can be full of fun surprises! This adorable skull features a rounded head, big sparkling eyes, crossed bones, and cheerful decorations. With this skull and crossbones drawing tutorial, parents can help children create the basic skull shape using simple outlines and easy-to-recognise shapes. Get ready to bring this adorable little skull to life with a sprinkle of spooky fun and a dash of Halloween magic!
What You’ll Learn in This Drawing
Why This Easy Skull and Crossbones Drawing Is Perfect for Kids
- A Little Halloween Magic: The cute skull and crossed bones introduce children to the spooky season in a fun and friendly way.
- A Chance to Explore Shapes: Drawing circles, curved edges, and slanting lines helps children practise essential drawing techniques.
- Small Steps, Big Smiles: Each stage builds on the previous one, allowing young artists to watch their spooky character take shape without feeling overwhelmed.
- Fun for the Whole Family: Parents can sit beside their little artists, offer gentle guidance, and enjoy some quality creative time together.
- A Canvas for Creativity: From colourful bones to sparkling stars, children can add their own imaginative touches and make every drawing one of a kind.
Get Your Art Kit Ready for Some Spooky Fun
- Drawing paper
- Pencil and eraser
- Black marker or drawing pen
- Coloring crayons, pencils, and sketch pens
Watch the Tutorial 🎥

You can watch the full skull and bones drawing step by step tutorial on our YouTube channel to draw along easily with your child.
Step-by-Step Guide: Draw a Cute Skull and Crossbones in 6 Steps
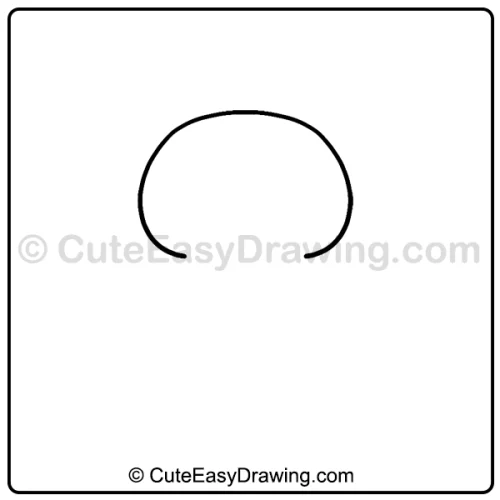
Step 1: Start Drawing the Skull’s Outer Shape
Begin this cute skull drawing for kids with a broad, rounded curve to form the top and sides of the skull. Keep the head wide and smooth.
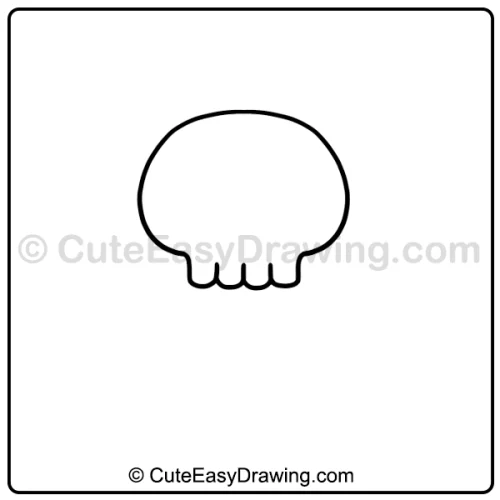
Step 2: Complete the Outer Skull Shape
Shape the lower edge of this easy skull drawing with four small, rounded teeth-like sections.
Use light pencil strokes so your child can adjust the shape before tracing the outline in black
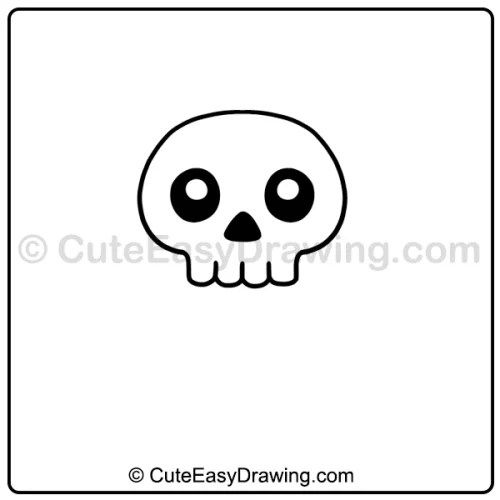
Step 3: Add the Eyes and Nose
Draw two large circular eyes inside the skull of this cartoon skull drawing. Add a small, rounded triangular nose between and below them.
Fill the eyes and nose with black, leaving small white circles inside the eyes for highlights. These details give the skull its cute, expressive appearance.
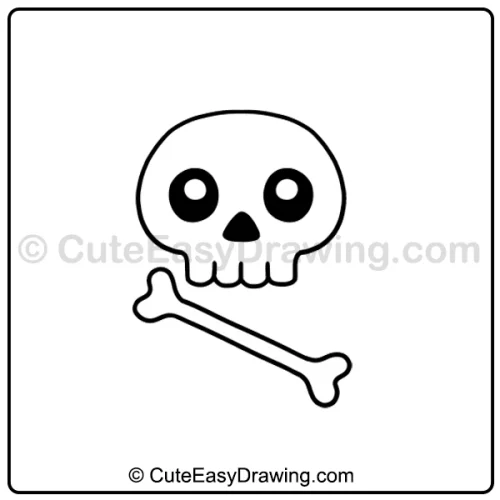
Step 4: Draw the First Bone
Below the skull, draw one long diagonal bone with rounded ends and a narrow middle.
Encourage children to form the rounded ends carefully and keep the bone separate from the skull.
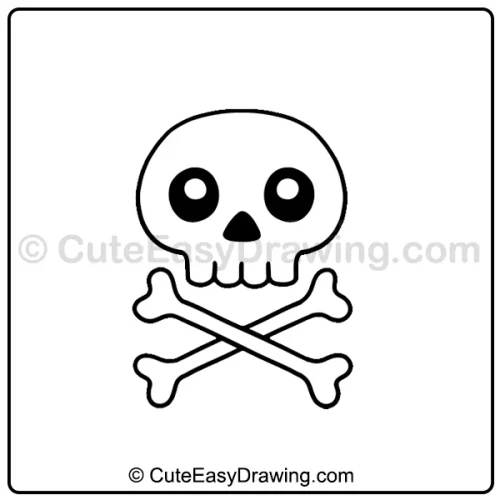
Step 5: Add the Second Bone to Form a Cross
Draw another long bone diagonally in the opposite direction, crossing over the first bone to form an X. Give it the same rounded ends and narrow centre.
Check that both bones of this easy crossbones drawing are clearly visible and erase any unnecessary pencil marks.
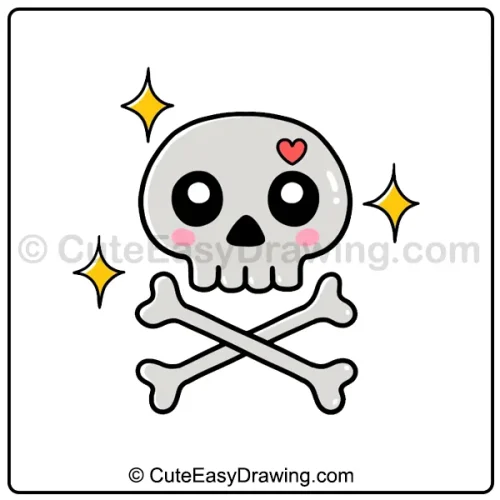
Step 6: Add the Heart, Sparkles, and Color the Finished Skull and Crossbones
Decorate the skull of this cute spooky drawing with a small heart near the top of its head. Draw three four-pointed sparkles around it, placing them at the left, right, and lower-left sides.
Use colors like light gray, black, pink, red and yellow for coloring purposes. Once the colouring is finished, your child’s cute Halloween drawing is ready to display!
Helpful Guidance for Parents and Beginners
- Practise on spare paper: Let children try a few circles and curved lines before beginning the main picture.
- Check the layout early: Make sure the skull is positioned high enough to leave room for both crossed bones.
- Use short drawing sessions: If your child loses concentration, pause between stages and continue later.
- Keep the reference nearby: Comparing each completed shape with the image can help children notice proportions and missing details.
- Make outlining the final stage before coloring: Allow the black lines to dry if using a marker, so the colours remain clean.
A Little Drawing, a Lot of Halloween Fun!
Creative activities help children learn to observe shapes, follow visual instructions, and build confidence through practice. This six-step project makes a traditional Halloween symbol feel friendly and approachable. Encourage your child to enjoy each stage rather than worry about perfection. The finished skull and crossbones drawing can become a cheerful addition to your family’s Halloween art collection.
FAQs ❓
1. What is the best way to start this drawing?
Begin with the skull’s rounded outline. Once the head is complete, the eyes and nose can be placed inside it, followed by the bones underneath.
2. How can children draw the bones more easily?
Practise a long, narrow shape with rounded ends on scrap paper first. Repeating the same basic structure for both bones helps children keep the design consistent.
3. Do children need to use a marker?
No. A black colouring pencil works well for outlining, especially for younger children who are still learning to control their drawing tools.
4. What can children do if their bones don’t cross neatly?
They can erase and adjust the pencil lines before outlining. If the lines are already finished, there is no need to start over; small differences are part of learning to draw.
5. Where can we watch the full tutorial?
You can watch the complete drawing tutorial on our YouTube channel.
Cute Easy Drawings – Learn Step-by-step

Free Coloring Pages for Your Inbox!
We’ll never spam you — just fun stuff for you and your little artist. Pinky promise.😊