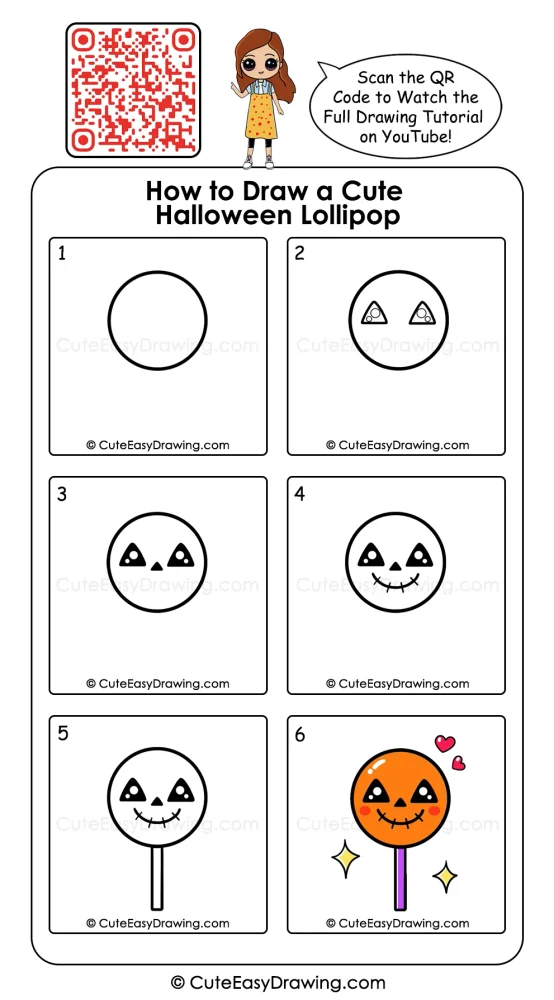
A cheerful candy character with a pumpkin-orange face, sparkling eyes, and a playful smile can make a wonderful first Halloween drawing project for children. This Halloween lollipop drawing tutorial guides young artists through six manageable stages, from making a simple round shape to adding colorful finishing touches. Parents can use this activity to introduce basic drawing techniques without overwhelming beginners.
What You’ll Learn in This Drawing
Why Choose This Fun Halloween Lollipop Drawing for Kids?
- A gentle introduction to character design: Children discover how a plain circle can become a character with eyes, a nose, and a cheerful expression.
- A screen-free seasonal activity: The Halloween theme offers a fun alternative to cartoons and digital games during the festive season.
- An opportunity to learn through observation: Kids can compare each drawing stage with the reference image and notice how individual details change the result.
- A project with room for personal choices: Once the basic lollipop is complete, children can experiment with different colors, expressions, and decorations.
- A shared parent-child experience: Adults can offer gentle guidance while allowing children to make their own artistic decisions.
What You Need for This Halloween Drawing Adventure
- Plain drawing paper: Choose a sheet with enough room for the round candy head, stick, and decorations.
- Eraser: Helps remove unwanted guidelines and correct small mistakes.
- HB pencil: Useful for creating the initial circle and planning the lollipop’s features.
- Colored pencils: Alternatively, crayons or washable markers can all work well.
- Black sketch pen: Ideal for making the eyes, mouth, stick outline, and outer circle stand out.
Watch the Tutorial 🎥

You can watch the full step-by-step Halloween lollipop drawing tutorial on our YouTube channel to draw along easily with your child.
Follow These 6 Steps to Build Your Halloween Candy Character
Step 1: Make a Round Candy Head
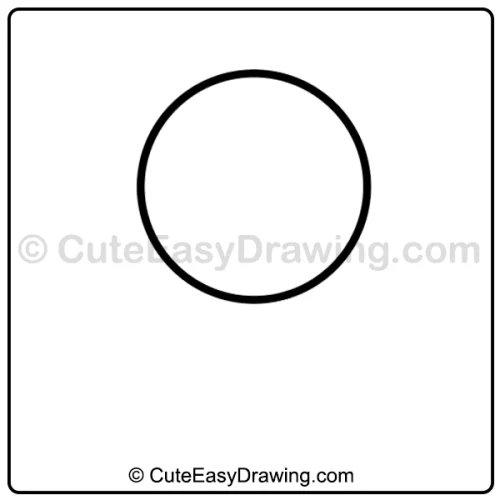
Draw a large circle near the upper-middle part of the paper first thing in this cute Halloween lollipop drawing. This will become the round candy portion of the lollipop.
Try to keep the outline smooth and leave enough room underneath for the stick. A slightly uneven circle is perfectly fine for a handmade cartoon character.
Parent’s guidance: Ask your child to imagine how large the finished candy should be before drawing the circle.
Step 2: Place Two Triangular Eyes
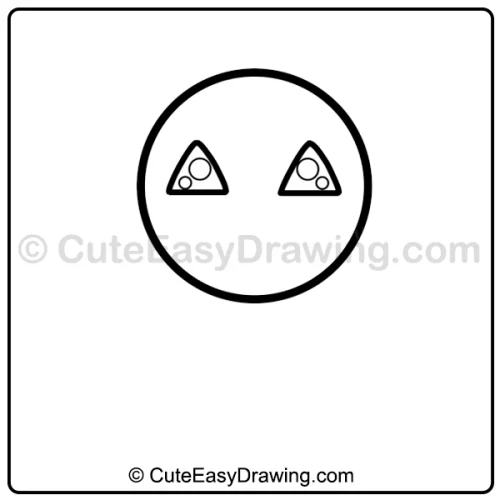
Inside the circle, draw two small triangular shapes with rounded corners next in this easy Halloween candy drawing. Position them at approximately the same height, leaving a little space between them.
Add small circular highlights inside each eye, following the reference image. These details will help create the playful Halloween expression.
Parent’s guidance: Point out the space between the eyes and the distance from each eye to the outer edge of the circle. This introduces children to simple visual spacing.
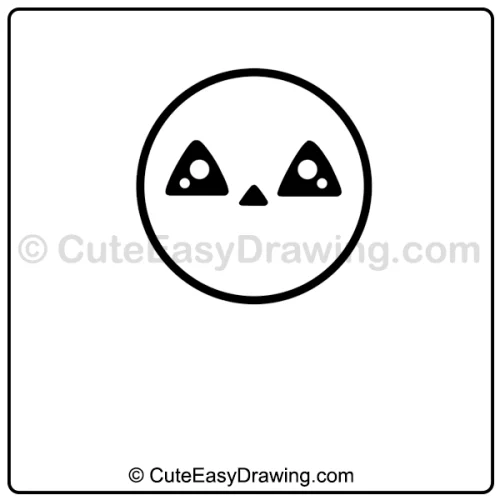
Step 3: Fill the Eyes and Add a Tiny Nose
Darken the triangular eyes with a black marker or pencil. Leave the small circular highlights white in this Halloween drawing for kids so that the eyes appear bright and shiny.
Next in this pumpkin face lollipop drawing, draw a small filled triangle between the eyes to create the nose. Keep it modest in size so that the eyes remain the main feature.
Parent’s guidance: If the eye shapes of this kawaii lollipop drawing look slightly different, let your child continue. Matching the general placement matters more than achieving perfect symmetry.
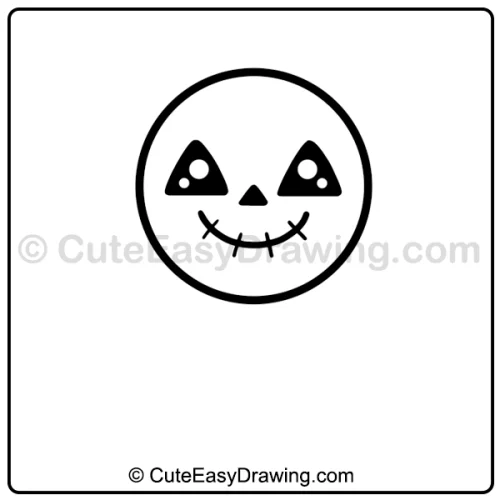
Step 4: Give the Candy a Stitched Smile
Next in this cartoon Halloween candy illustration, draw a wide, upward-curving smile below the nose. Add short crossing lines along the smile to create a stitched pumpkin-style mouth.
The curved line gives the candy a friendly personality, while the small strokes introduce children to combining different line directions in one drawing.
Parent’s guidance: Encourage your child to draw the smile lightly first in this easy pumpkin candy art. Once the curve looks right, they can trace over it with a darker line.
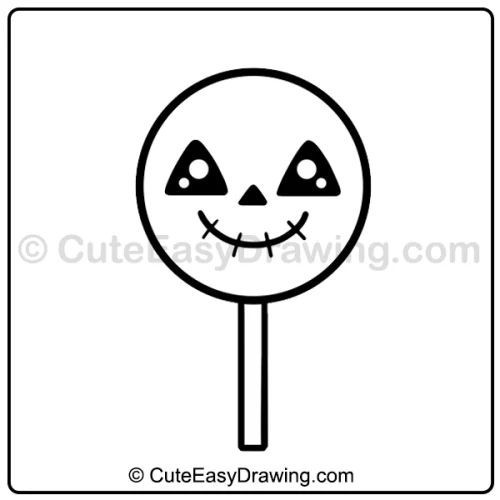
Step 5: Attach the Lollipop Stick
Draw two straight, parallel lines extending down from the center of the candy head. Connect their lower ends with a short line to form a narrow stick.
Check that the stick joins the bottom of the circle neatly. The finished outline should now look like a complete lollipop, even before any color is added.
Parent’s guidance: A ruler can help children who are still learning to draw straight lines, but freehand lines also give the character a charming handmade appearance.
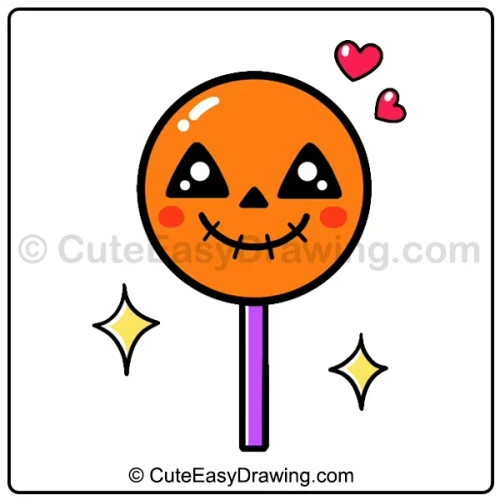
Step 6: Add Halloween Colors and Sparkles
Now it’s time to make this cute spooky candy drawing cheerful and colorful!
- Color the round candy head bright orange.
- Keep the triangular eyes and little nose black, with white highlights.
- Add pink or red circles to create rosy cheeks.
- Color the stick purple, leaving a narrow white strip if desired.
- Draw two small pink hearts above the candy.
Parent’s guidance: Let your child choose the final color palette for this beginner-friendly Halloween illustration. The aim is to enjoy making art, not to reproduce every color perfectly.
More Enjoyable Ways to Guide Young Artists
Parents can make a drawing lesson more rewarding by turning it into a relaxed creative activity instead of a test of accuracy.
- Use a shape-first approach: Before drawing, ask your child to identify the circle, triangles, and long lines in the reference. This makes the instructions easier to understand.
- Try a drawing detective game: Ask questions such as, “Which detail makes this candy look spooky?” or “What makes its eyes look shiny?” This encourages careful observation.
- Offer two creative choices: Let your child decide between purple or green for the stick, or hearts and stars for the decorations. Small decisions encourage independence.
- Keep a first-attempt page: Save the original drawing and compare it with a future attempt. Children can see their progress without competing with anyone else.
- Display the finished artwork: Place the drawing on a refrigerator, bedroom wall, or homemade Halloween art board to celebrate the effort.
Turn a Simple Candy into a Little Work of Art
This project combines familiar shapes with a playful Halloween theme, helping beginners discover how small details can give a drawing its own personality. With this Halloween lollipop drawing, parents can create a positive learning experience by offering encouragement, allowing experimentation, and celebrating each child’s effort. Whether the finished candy has perfectly placed eyes or a wonderfully crooked smile, what matters most is the confidence children gain as they turn their ideas into pictures.
FAQs ❓
1. Is this activity suitable for children who have never drawn a character?
Yes. The design begins with a basic circle and introduces the facial features gradually. Parents can demonstrate each stage before inviting children to try it themselves.
2. How can I help my child position the eyes correctly?
Ask your child to imagine a horizontal line across the middle of the circle. The two eyes can sit around this level, with enough space between them for the nose.
3. Should children use a black marker from the beginning?
It’s usually easier to start with a pencil. Children can adjust the shapes before tracing the final outline with a black marker.
4. What if my child finds the stitched mouth difficult?
Start with a simple curved smile. Add two or three short crossing lines rather than trying to create every stitch at once. The design can remain simple and still look appealing.
5. Where can we watch the full tutorial?
You can watch the complete drawing tutorial on our YouTube channel.
Cute Easy Drawings – Learn Step-by-step

Free Coloring Pages for Your Inbox!
We’ll never spam you — just fun stuff for you and your little artist. Pinky promise.😊