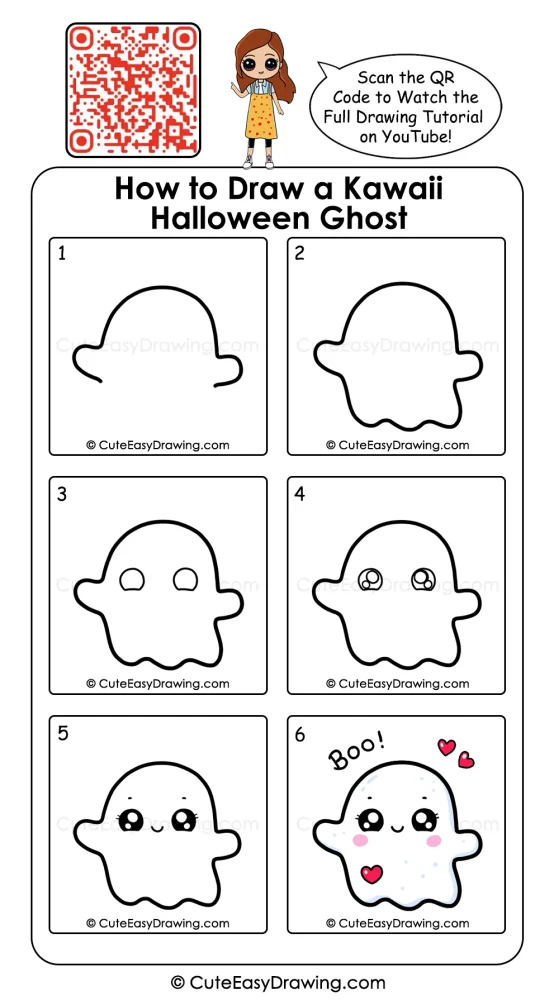
Halloween drawings do not always need to look scary. A cute Halloween ghost drawing like this can be a fun project for children who enjoy simple characters and seasonal artwork.The picture develops gradually, beginning with the main ghost shape and ending with playful decorative details. Each stage adds something small, making the finished character feel more expressive without requiring complicated shapes.👻👻👻
What You’ll Learn in This Drawing
Why This Ghost Project Is a Great Pick for Kids
- The character uses simple curves: Children can concentrate on controlling rounded lines instead of complicated geometry.
- The face comes together gradually: Eyes, highlights, eyebrows, and the little smile are introduced one part at a time.
- There is room for personality: The finished ghost has a sweet expression rather than a frightening appearance.
- The stages are easy to follow visually: Children can concentrate on one change at a time instead of trying to create the entire character immediately.
- It works well for seasonal art time: The Halloween theme can make an ordinary drawing session feel like a special activity.
Gather Your Little Artist’s Drawing Kit
Before beginning, place a few basic materials nearby:
- Black marker or sketch pen – ideal for giving the final outline a bold appearance.
- Drawing paper – choose a clean sheet with enough space for the ghost.
- Eraser – handy for cleaning up unwanted construction lines.
- Pencil – useful for making the early shapes and facial details.
- Colored pencils, crayons, or sketch pens – use these for the cheeks, hearts, blue accents, and other finishing touches.
Watch the Tutorial 🎥

You can watch the full Halloween ghost drawing step by step tutorial on our YouTube channel to draw along easily with your child.
6 Stages to Create this Cute Halloween Ghost Drawing
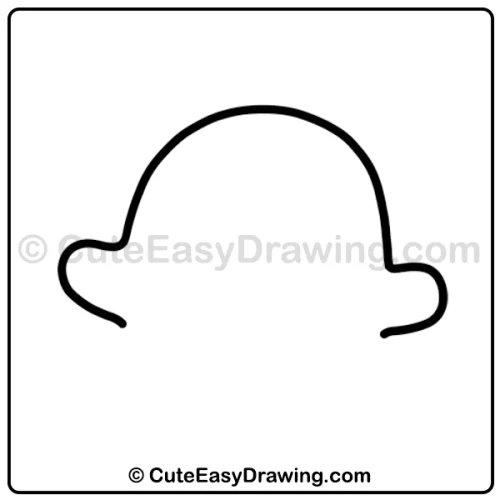
Step 1: Start with the Rounded Ghost Top
Begin this cute ghost drawing for kids with the upper portion of the ghost. Draw a broad, smooth curve that rises into a rounded head and comes down toward both sides.
At the sides, create the little outward extensions that make the character look as though its arms are floating outward.
Keep the strokes relaxed. The top does not need to be perfectly symmetrical.
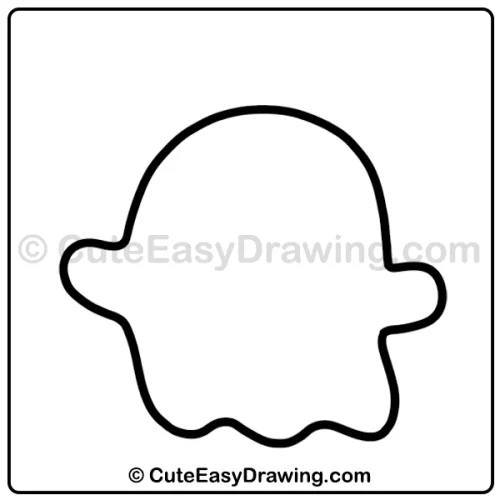
Step 2: Shape the Wavy Lower Body
Continue the outline downward from both sides next in this Halloween ghost drawing. Let the body curve inward and outward before reaching the bottom.
Finish with several soft waves along the lower edge. These rounded waves give the ghost its floating-sheet appearance.
At this stage, the main silhouette is complete. Keep the outline bold and smooth once you are happy with its shape.
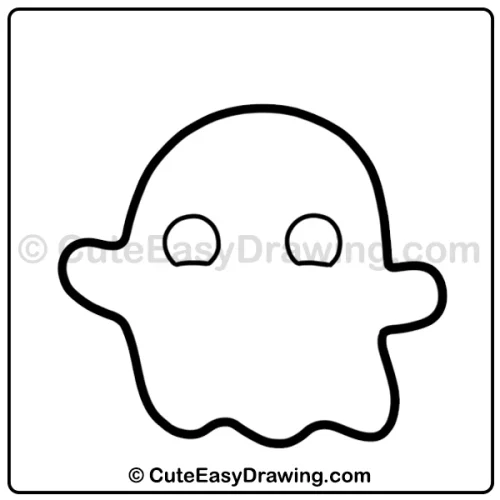
Step 3: Place the Large Round Eyes
Now bring the ghost in this kawaii ghost drawing to life by adding two rounded eye shapes. Position them near the upper-middle portion of the body, leaving a comfortable gap between them. The eyes should be similar in size and sit at roughly the same height.
Do not add the tiny details yet. First, concentrate on getting the placement and size of the two eye shapes right.
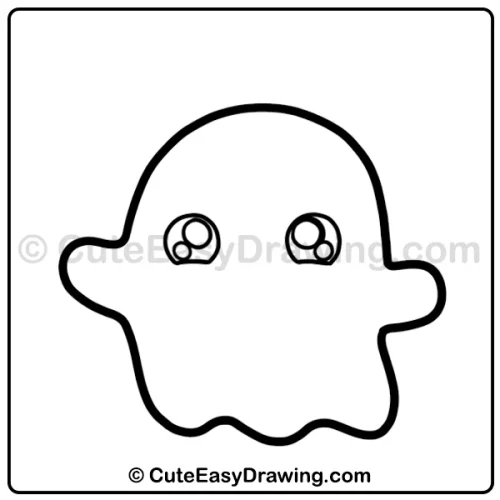
Step 4: Build the Sparkly Eye Details
The eyes now become more expressive in this easy ghost drawing for beginners. Inside each eye, add rounded highlight shapes.
Take your time with this stage in this simple ghost art for kids because these small shapes make a noticeable difference to the ghost’s expression.
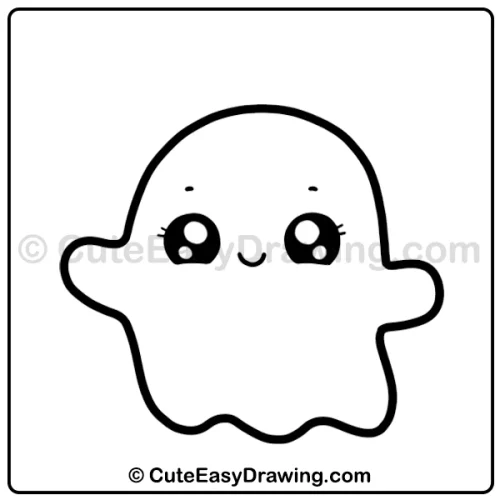
Step 5: Give the Ghost Its Sweet Expression
Fill the main portions of the eyes with black while keeping the highlight areas bright in this ghost drawing for children.Then add the small curved eyebrows above the eyes. Place a tiny upward-curved smile between them.
The final facial arrangement gives the ghost a gentle, friendly expression. Small eyelash strokes beside the eyes can also be added to this Halloween drawing for kids for a cuter expression.
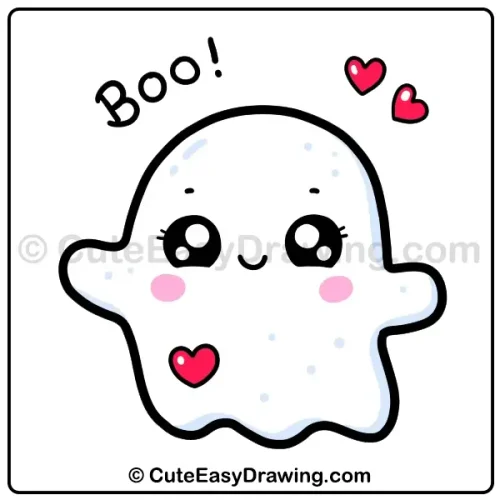
Step 6: Add Halloween Charm and Color
This is where the friendly ghost drawing gets its finishing personality. Add soft pink circles to the cheeks. Place small heart shapes around the ghost, including the heart on its lower body and the hearts floating above it.
The finished cute Halloween art also includes light blue touches across the white ghost, creating a soft shaded effect. Finally, add the playful “BOO!” lettering above the character.
Use bright, cheerful colors for the hearts and cheeks, while keeping the ghost of this kawaii Halloween drawing mostly white with delicate blue accents.
Make the Drawing Session Easier for Young Artists
- Work from large shapes to tiny details: Finish the ghost outline before worrying about the eyes or decorations.
- Pause after each stage: A short break can help children look at their drawing with fresh eyes before continuing.
- Use dots as placement guides: Lightly mark where the two eyes should sit before drawing their complete shapes.
- Practice the wavy bottom separately: A few gentle curves on spare paper can make the final ghost outline easier to control.
- Keep the face area un-cluttered: Leave enough open space between the eyes, eyebrows, and smile so the expression remains clear.
A Sweet Finish for Your Halloween Artwork 🎃
A simple ghost outline can become a memorable Halloween character with only a few carefully placed details. Most importantly, the finished cute Halloween ghost drawing gives young artists an opportunity to see how a handful of lines and shapes can turn into a character with its own personality. Let children enjoy the process, add their own decorative ideas, and make the ghost uniquely theirs.
FAQs ❓
1. Is the ghost meant to look scary?
No. The illustrated character has a friendly and playful appearance, with large sparkling eyes, a small smile, rosy cheeks, and hearts.
2. Which part should children draw first?
Start with the large outer silhouette. The facial features and decorations are added after the main ghost body has been completed.
3. How can children make the eyes look shiny?
Leave the small highlight circles uncolored when filling the main eye areas. The contrast creates the sparkling effect shown in the finished picture.
4. What does the wavy bottom add to the character?
The curved lower edge makes the ghost look like it is floating instead of standing on a flat surface.
5. Where can we watch the full tutorial?
You can watch the complete drawing tutorial on our YouTube channel.
Cute Easy Drawings – Learn Step-by-step

Free Coloring Pages for Your Inbox!
We’ll never spam you — just fun stuff for you and your little artist. Pinky promise.😊