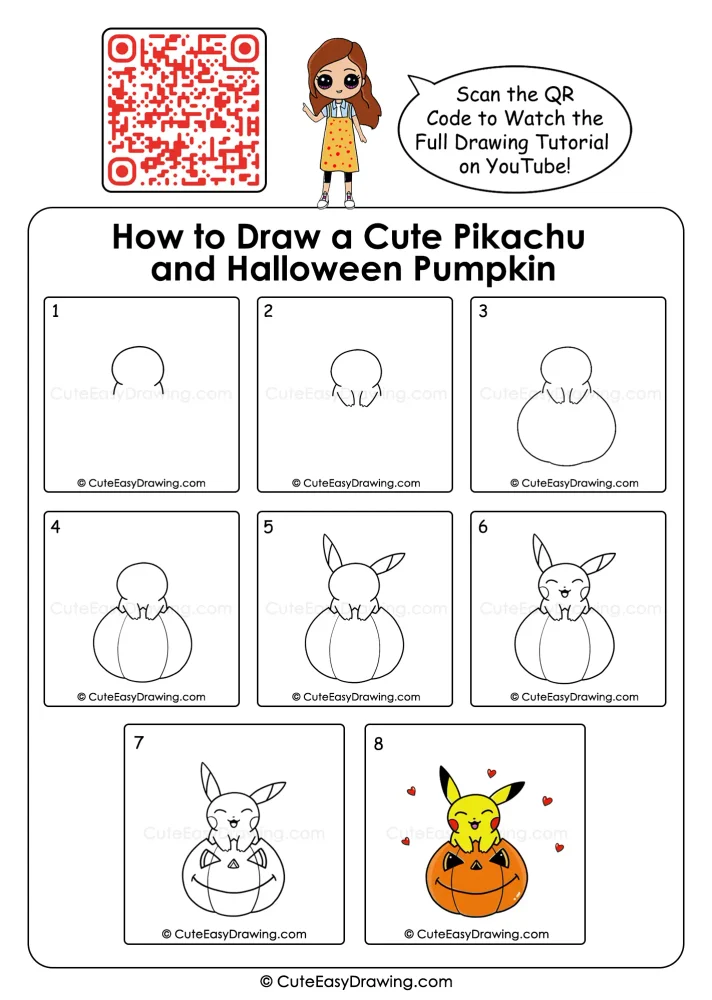
Halloween drawing time can become more exciting when children can watch a familiar character gradually appear from a few simple shapes. This Pikachu Halloween pumpkin drawing begins with a small rounded form and slowly develops into a cheerful Pikachu sitting on a pumpkin. The final artwork combines Pikachu’s recognizable ears and happy expression with a carved pumpkin, making it a playful seasonal project for children and beginners.
What You’ll Learn in This Drawing
Why Kids Will Enjoy This Pikachu Halloween Art Activity
- The early stages are uncluttered: Beginners can concentrate on one part before more details are introduced.
- Different shapes appear naturally: Rounded outlines, curved pumpkin sections, pointed ears, and small facial details provide variety.
- The character appears step by step: Adding the ears and face gives children a satisfying sense of progress.
- The coloring stage feels rewarding: The finished example shows bright yellow, orange, black, and small red heart details.
- Parents can easily demonstrate each stage: The reference images provide a visual target without requiring lengthy explanations.
Everything You’ll Need for This Halloween Sketch
- Drawing Paper — Choose a clean, sturdy sheet with enough space for Pikachu and the pumpkin to fit comfortably.
- Soft Graphite Pencil — Perfect for lightly sketching the main shapes before adding darker lines.
- Soft Eraser — Useful for removing small mistakes and cleaning up overlapping pencil marks.
- Black Outline Marker — Helps define Pikachu, the pumpkin, and the smaller details with crisp lines.
- Coloring Supplies — Use crayons, colored pencils, or sketch pens to bring the yellow Pikachu and orange pumpkin to life.
- Pencil Sharpener — Keep the pencil point neat for smaller details such as the eyes, cheeks, and pumpkin features.
Watch the Tutorial 🎥
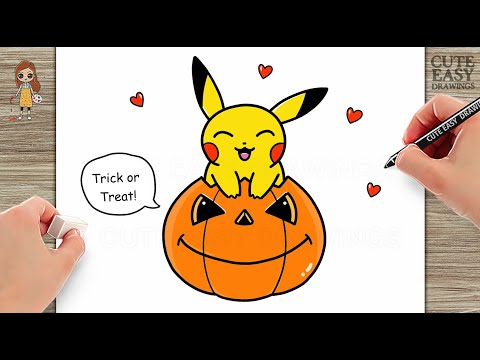
You can watch the full step-by-step Pikachu drawing tutorial on our YouTube channel to draw along easily with your child.
Pikachu Halloween Pumpkin Drawing in 8 Clear Steps
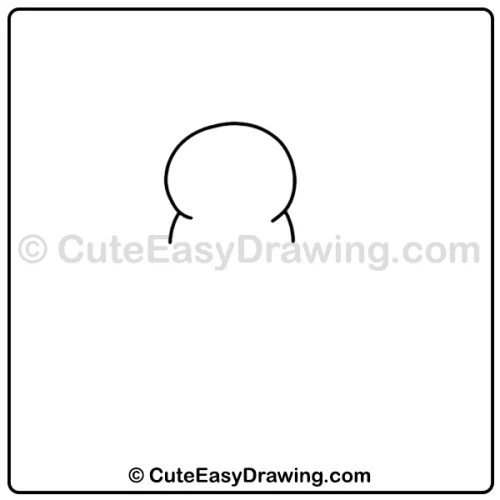
Step 1: Start With Pikachu’s Rounded Head
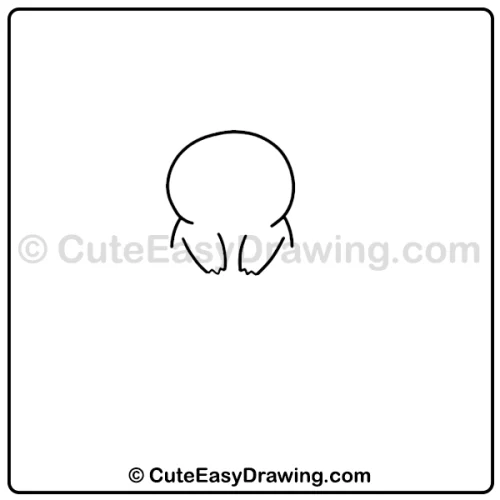
Begin this Pikachu Halloween drawing with the rounded outline at the top of the character. Keep the shape smooth and simple. At this point, there is no need to add facial features.
The important goal at this stage of this Pikachu and pumpkin art is to establish the main head shape without making it too complicated.
Step 2: Shape the Lower Face
Add the small lower sections beneath the head next in this cute Pikachu drawing for kids. These lines begin to suggest Pikachu’s front paws and body area.
Encourage children to look carefully at the reference before drawing. The shapes do not need to be perfectly identical to the example.
Step 3: Build the Pumpkin Body
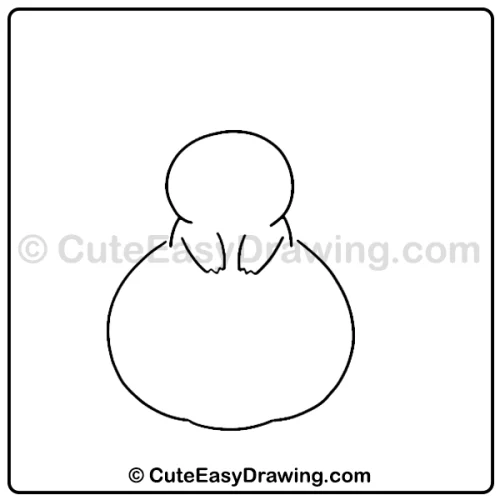
Now create the large rounded pumpkin beneath Pikachu in this Halloween pumpkin drawing. The pumpkin is considerably larger than the head, so children can concentrate on keeping the lower shape broad and balanced.
This is an excellent point to pause and check whether the character is positioned comfortably in the middle of the page.
Step 4: Divide the Pumpkin Into Sections
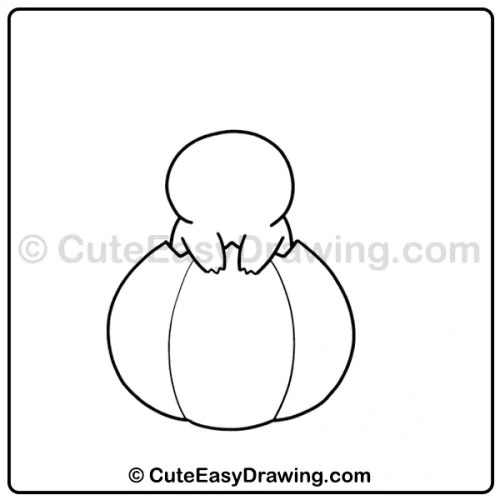
Next in this Pikachu pumpkin art, add curved lines inside the pumpkin to create its separate sections. These lines give the pumpkin a fuller appearance while keeping the drawing simple.
Parents can encourage children to follow the gentle curves rather than trying to draw completely straight lines.
Step 5: Add Pikachu’s Long Ears
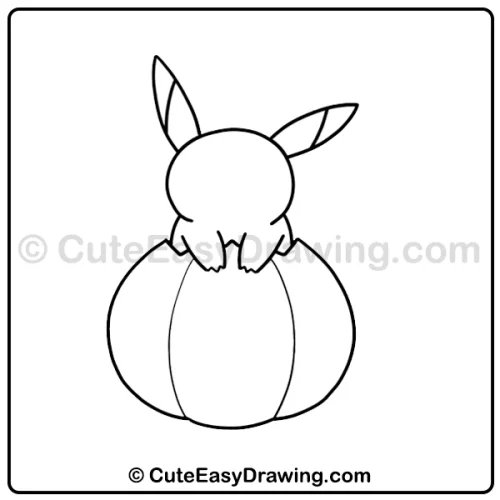
The two pointed ears are introduced next in this easy character drawing for beginners. Draw one ear on each side of the head, then add the inner lines that separate the darker tips.
This step in this kids Halloween drawing makes the character much easier to recognize and gives children an opportunity to practice longer curved strokes.
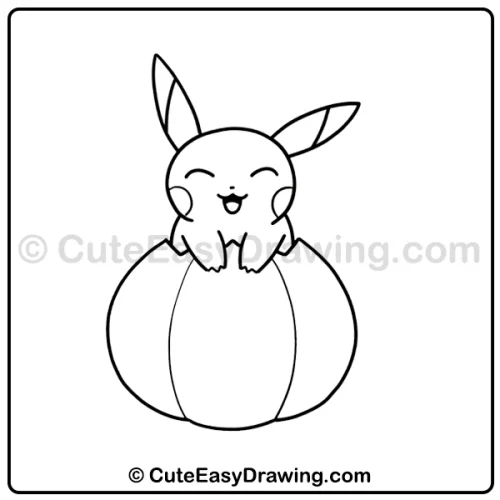
Step 6: Give Pikachu a Happy Face
Add the closed eyes, cheeks, nose, and smiling mouth next in this simple Pikachu art. The face is small, so children may find it easier to lightly position the features before making the final lines.
The cheerful expression changes the simple outline into a character with personality.
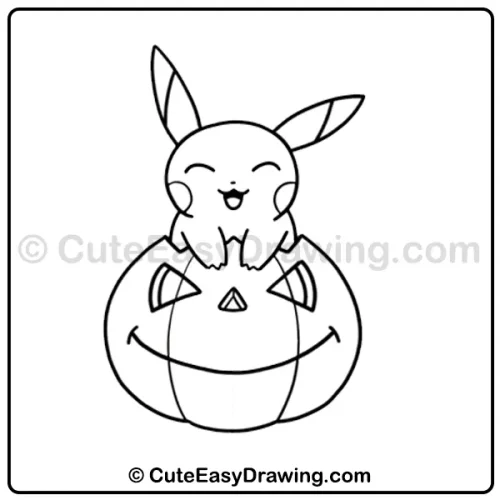
Step 7: Turn the Pumpkin Into a Halloween Pumpkin
Now add the Halloween details to the pumpkin. Draw the triangular eyes and nose, followed by the wide curved mouth.
At this step in this cute Halloween art for children, the combination of Pikachu and the pumpkin becomes clear. Let children take their time with the small geometric shapes.
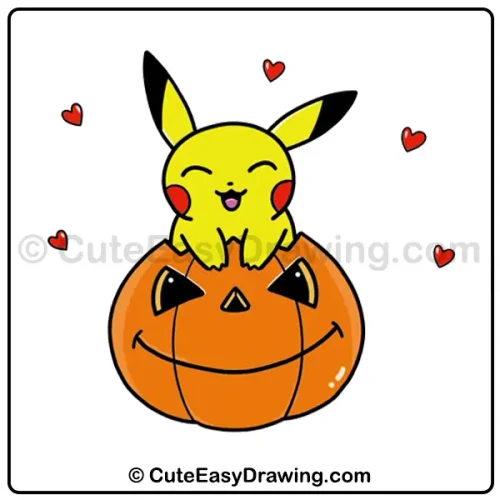
Step 8: Add Color and Finishing Details
The final reference uses bright yellow for Pikachu and orange for the pumpkin. The ear tips and pumpkin facial features are black, while small red hearts add extra decoration around the character.
Children can use this finished pumpkin character drawing as inspiration while making their own color choices.
Parent-Friendly Tips for a Successful Drawing Session
- Let the child choose the pace – Some children may finish a stage quickly, while others may need several attempts. Give them enough time to feel comfortable with each shape.
- Cover later stages at first – Show only the current reference when possible. This prevents children from becoming distracted by all the details in the completed picture.
- Use comparison instead of correction – Instead of saying that a line is wrong, ask, “Does your pumpkin need to be a little wider?” This encourages observation and problem-solving.
- Break difficult shapes into movements – For a curved pumpkin line, encourage the child to think about where the curve starts, where it travels, and where it ends.
Celebrate Your Halloween Creation
A good children’s drawing activity does not need complicated instructions or a difficult starting point. From the rounded beginning to the colorful Pikachu sitting on the pumpkin, every stage gives children something manageable to complete. Their lines, colors, and small differences are part of the creative experience. With patience and encouragement, this Pikachu Halloween pumpkin drawing can become a fun seasonal art project that parents and children enjoy together.
FAQs ❓
1. Should my child draw the entire picture in one sitting?
Not necessarily. The eight stages make it easy to pause after any step and continue later.
2. What if the pumpkin becomes uneven?
That is completely fine. A slightly different curve can give the child’s drawing its own character.
3. Which part may need the most careful attention?
The face and Halloween pumpkin details contain smaller shapes, so children may benefit from slowing down during these stages.
4. Can beginners start even if they are not confident with characters?
Yes. The drawing begins with simple rounded forms before introducing the ears, face, and pumpkin details.
5. Where can we watch the full tutorial?
You can watch the complete drawing tutorial on our YouTube channel.
Cute Easy Drawings – Learn Step-by-step

Free Coloring Pages for Your Inbox!
We’ll never spam you — just fun stuff for you and your little artist. Pinky promise.😊