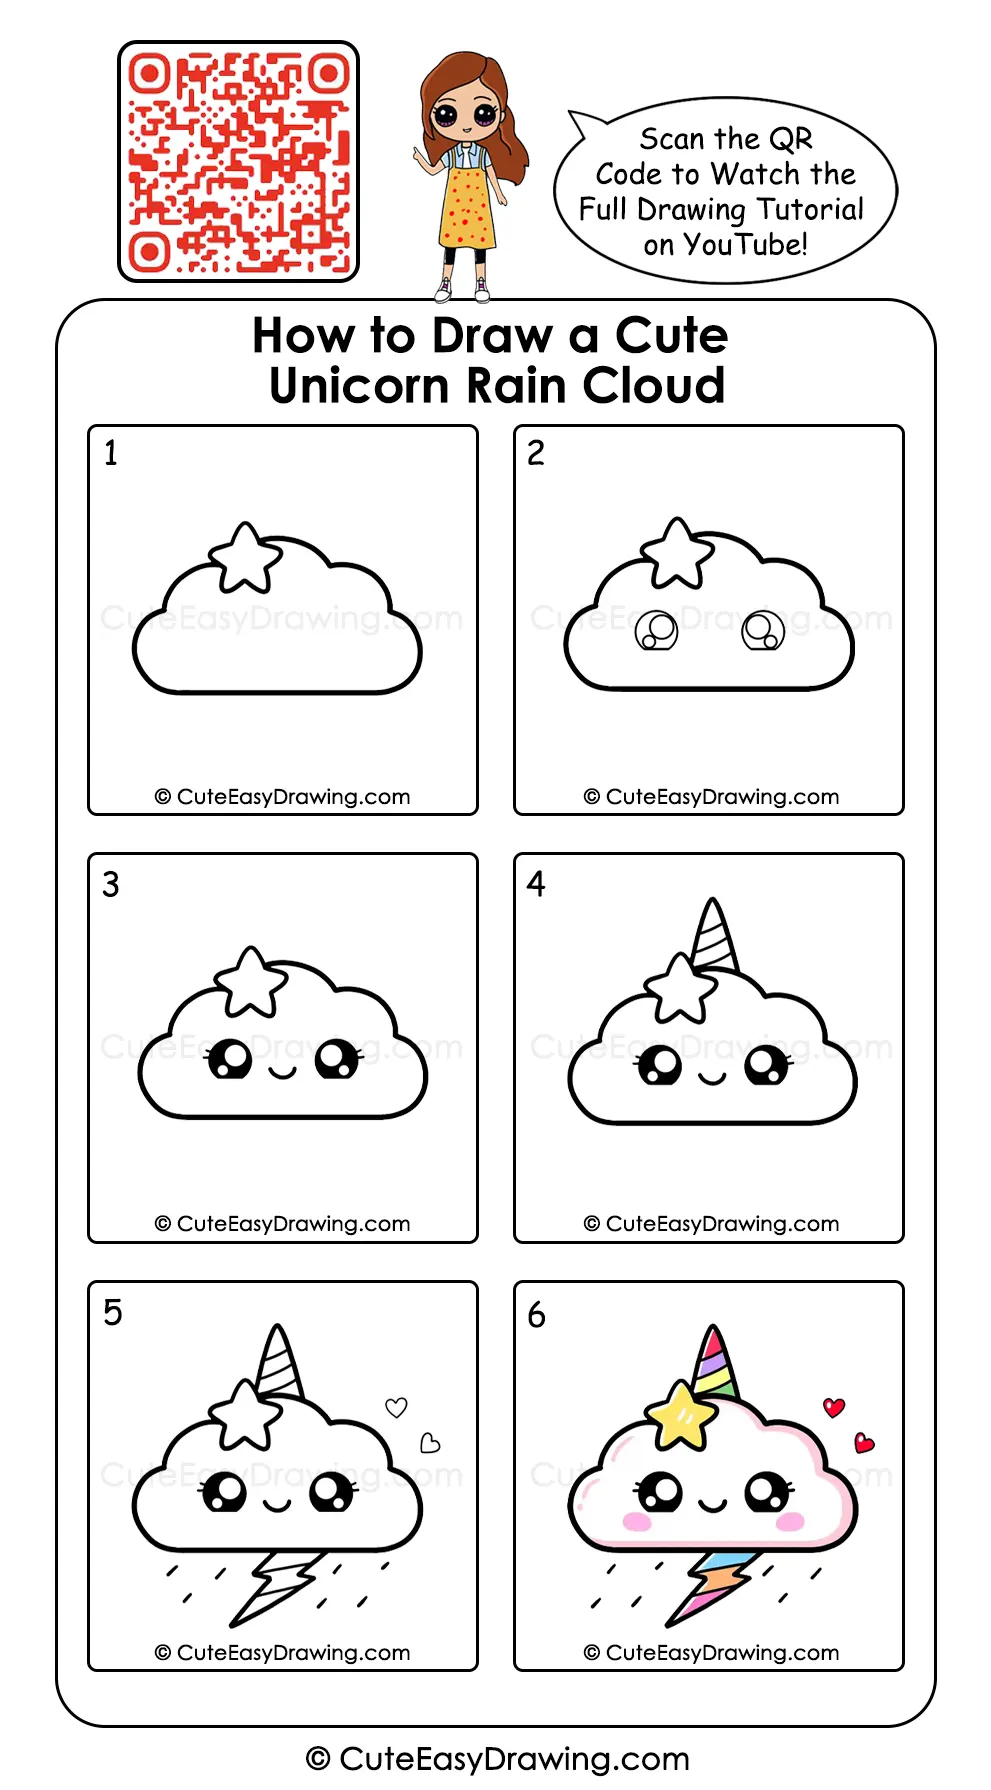
Looking for a simple art activity that your child can enjoy while learning basic drawing skills? This cute unicorn rain cloud drawing takes children through six clear stages, starting with a fluffy cloud and gradually adding playful details. Parents can guide young artists as they practice curves, circles, facial features, and decorative shapes without feeling overwhelmed. The colorful final stage also gives children a chance to make creative choices and enjoy the artwork they have created. ☁️🦄🌈
What You’ll Learn in This Drawing
What Makes This Unicorn Cloud Activity Fun for Young Artists?
- Simple to begin: The fluffy cloud gives children an easy shape to draw first.
- Useful shape practice: Kids can improve their control while drawing curves, circles, and pointed details.
- Step-by-step learning: Each stage introduces a new feature without making the picture feel complicated.
- Creative finishing: Children can enjoy choosing bright colors for the horn, star, cloud, and other details.
- Room for imagination: Young artists can add their own colors and small changes to make the character feel personal.
Art Supplies for Creating the Unicorn Cloud
- Crayons, colored pencils, or sketch pens: Keep a cheerful selection ready for adding bright colors to the finished character.
- Black marker or sketch pen: Use it later to strengthen the outlines and make the details easier to see.
- Drawing paper: Choose a clean sheet with enough room for the cloud, horn, star, and decorative details.
- Pencil: Start with this for making light outlines that are easy to adjust as your child builds the character.
- Eraser: A handy helper for gently removing unwanted pencil marks while the drawing takes shape.
Watch the Tutorial 🎥

You can watch the full unicorn drawing tutorial for kids step by step on our YouTube channel to draw along easily with your child.
Cute Unicorn Rain Cloud Drawing in 6 Simple Steps
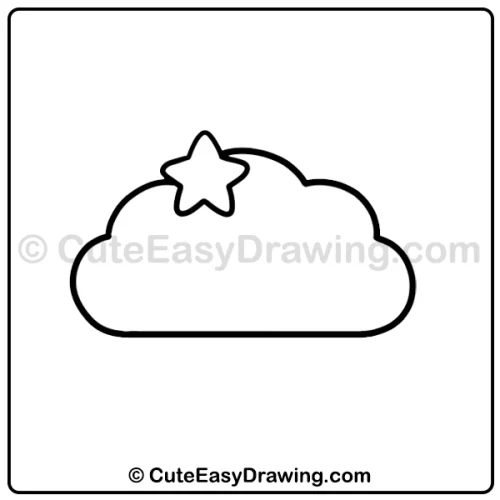
Step 1: Shape the Fluffy Cloud and Star
Begin this unicorn rain cloud drawing for kids with the main cloud. Draw a long, rounded cloud shape with several soft bumps across the top and rounded sides.
Once the cloud outline is ready, add a five-pointed star near the upper-left area of this unicorn cloud drawing. The star slightly overlaps the cloud and becomes one of the character’s main decorative features.
Keep the lines simple at this stage. The cloud does not need to be perfectly symmetrical.
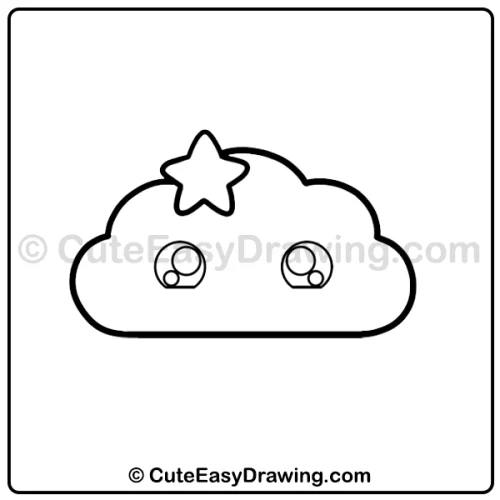
Step 2: Place the Two Large Eyes
Now it is time to give the cloud a face. Draw two large circular eye shapes inside the cloud of this cute cloud drawing for children. Keep them roughly the same size and leave enough space between them for the mouth that will be added in the next stage.
Inside each eye, add the smaller circular areas shown in the image. These will later create the bright, sparkling look of the eyes.
For beginners: Lightly sketch both eyes first so you can adjust their positions before making the lines darker.
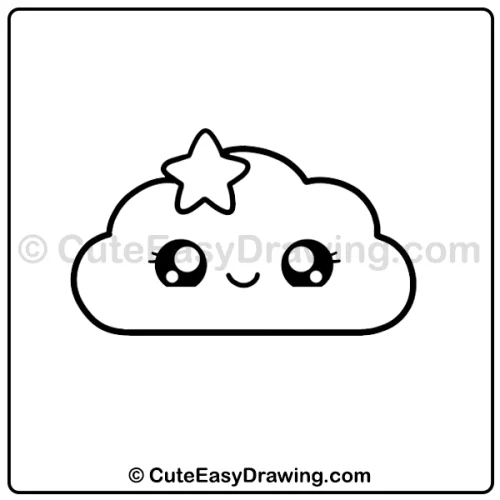
Step 3: Turn the Cloud Into a Cute Character
Fill the main portions of both eyes with black, while keeping the smaller circles white as highlights. Then add a small curved smile between the eyes of this kawaii unicorn cloud art. Also, add lashes on the outer corners of both the eyes for a prettier look.
This tiny expression changes the appearance of this easy unicorn drawing for beginners immediately. It now looks like a friendly character rather than simply a weather cloud.
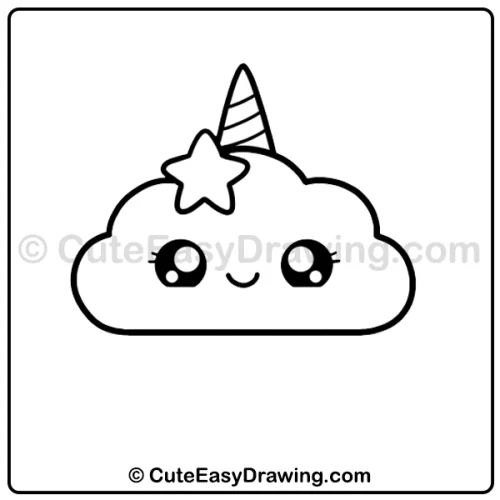
Step 4: Add the Striped Unicorn Horn
Give the cloud its magical unicorn feature by drawing a pointed horn above its head. The horn sits behind the star in this rain cloud drawing for kids. Add several curved stripe lines across it to divide it into sections.
At this stage in this fantasy cloud drawing, the character should have four important elements: the fluffy cloud body, star, sparkling eyes, and striped horn.
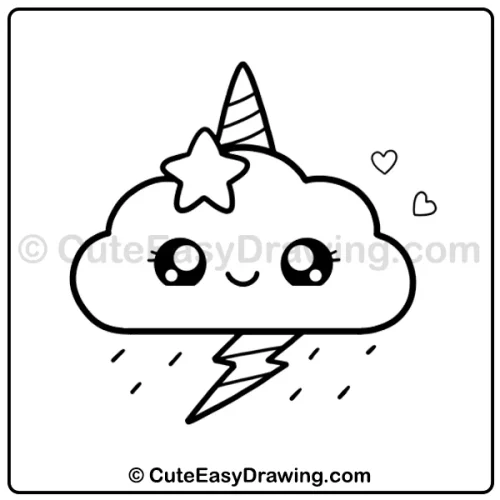
Step 5: Add Rain, Lightning, and Hearts
Now complete the weather-inspired details. Under the cloud, draw a bold lightning-shaped form pointing downward. Add a few short diagonal rain marks around the lower portion of the cloud.
Finally in this easy character drawing for children, draw two small hearts on the right side of the character. These decorative shapes add a playful touch without making the drawing too complicated.
Take a moment to check that all the major outlines are complete before moving to the final stage.
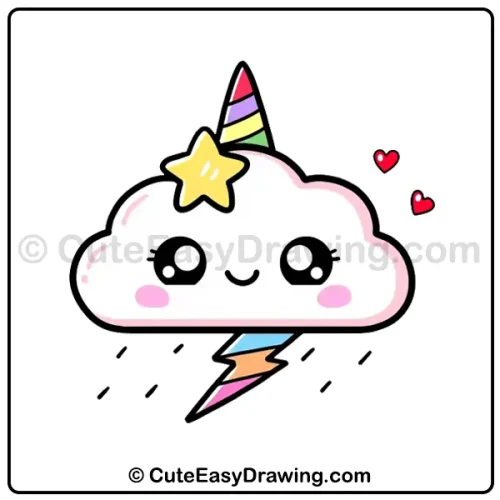
Step 6: Finish the Unicorn Cloud With Bright Shades
This is the finishing stage shown in the final image. Use cheerful colors to complete the character:
- Yellow for the star
- Pink for the soft cloud edging and cheeks
- Pink, purple, yellow, and green for the striped unicorn horn
- Blue, orange, and pink for the lightning shape
- Red or bright pink for the hearts
Children can follow these colors or create their own palette. Encourage them to experiment while keeping the black outlines visible.
How Parents Can Make Each Drawing Stage Easier
- Begin with the main shape: Guide your child to draw the fluffy cloud before adding smaller details.
- Add one feature at a time: Encourage them to complete each part before moving to the next stage.
- Practice tricky shapes: Let children rehearse the star, horn, or lightning shape on spare paper.
- Take comfortable breaks: Pause between stages if your child needs time to relax or refocus.
- Encourage creative choices: Let children select their own colors and enjoy making the character their own.
One Last Look at the Unicorn Cloud Drawing
A successful children’s drawing activity does not have to begin with a complicated picture. The cute unicorn rain cloud drawing gives children opportunities to work with curves, circles, pointed shapes, facial features, and colorful details while following a clear visual sequence. Most importantly, let young artists enjoy their own version of the character—even if their cloud, horn, or colors look a little different from the example. ☁️🦄⭐🌈
FAQs ❓
1. Should my child draw the cloud perfectly before moving on?
Not at all. A slightly uneven cloud can still look charming. Encourage your child to continue once the basic shape is clear.
2. How can I help with the large eyes?
You can lightly mark two guide points at approximately the same height. Your child can then build the circular eyes around those points.
3. What if the unicorn horn looks too small?
That is perfectly acceptable. The horn can be made taller or shorter according to the child’s preference. The important part is keeping it above the cloud and behind the star.
4. What can children do if they run out of space for the hearts?
The hearts can be smaller or placed slightly farther from the cloud. They are optional decorative elements and do not affect the main character.
5. Where can we watch the full tutorial?
You can watch the complete drawing tutorial on our YouTube channel.
Cute Easy Drawings – Learn Step-by-step

Free Coloring Pages for Your Inbox!
We’ll never spam you — just fun stuff for you and your little artist. Pinky promise.😊