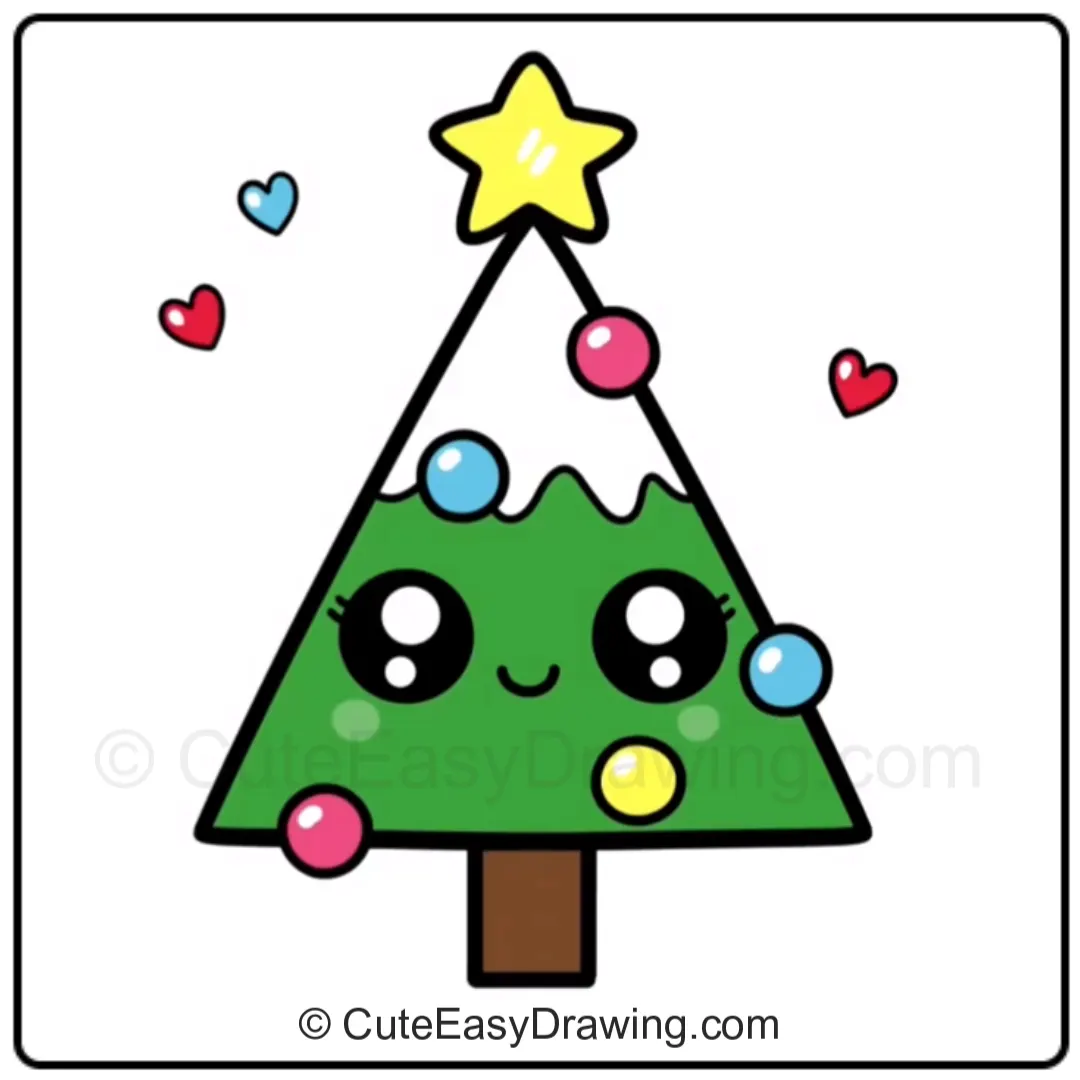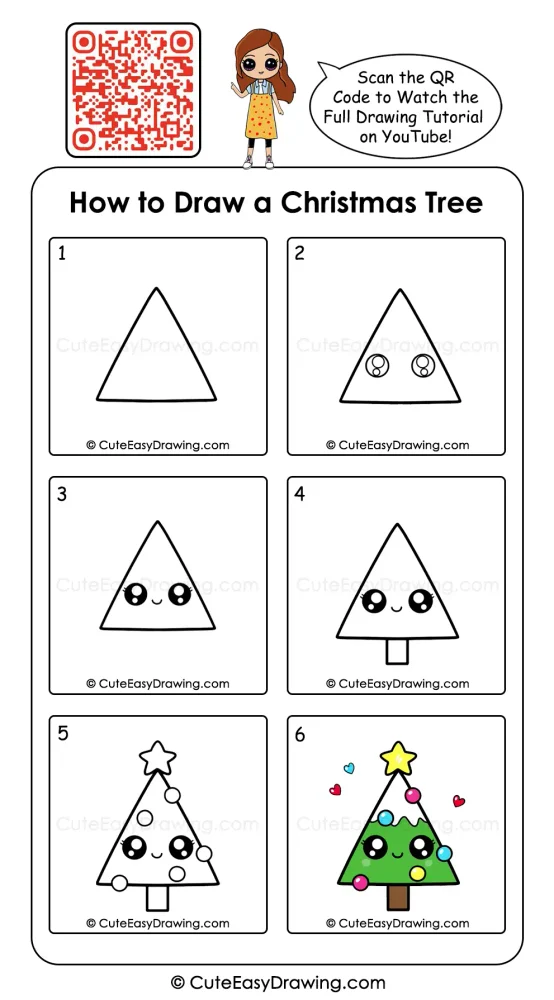
A holiday picture can begin with just a few simple lines. This tutorial turns a basic triangle into a cheerful Christmas tree character with sparkling eyes, a smiling face, colorful decorations, and a star on top. The clear six-stage progression makes this a simple Christmas drawing activity for parents to guide children through at home. By adding one new feature at a time, children can enjoy seeing the picture develop gradually without feeling overwhelmed by having to complete the whole drawing at once.
What You’ll Learn in This Drawing
Reasons Kids Will Enjoy This Activity ✨
- Starts with a familiar shape: The first stage uses a simple triangular outline, giving children an un-complicated foundation.
- Adds a character element: The large eyes and tiny smile turn the tree into a friendly little character.
- Uses gradual changes: Each stage introduces only a few new details, making the progress easy to see.
- Introduces decorative elements: Circles, hearts, and the star give children different shapes to observe and reproduce.
- Creates a satisfying transformation: The final stage looks very different from the opening outline, which can make the drawing process feel rewarding.
Your Christmas Drawing Kit ✏️🎄
- Pencil ✏️ – Use it to create the initial shapes and lightly plan the tree before outlining.
- Drawing paper 📄 – Choose a clean sheet with enough space for the complete tree and its decorations.
- Black sketch pen or marker 🖊️ – Use it to make the final outlines bold and clear.
- Eraser 🧽 – Keep one nearby to remove unwanted marks and tidy up the sketch.
- Crayons, sketch pens, or colored pencils 🎨 – Pick your favorite coloring tools to fill the tree, star, trunk, ornaments, and other festive details.
Watch the Tutorial 🎥
You can watch the full cute Christmas tree art step by step tutorial on our YouTube channel to draw along easily with your child.
Create a Christmas Tree Drawing for Kids in 6 Steps
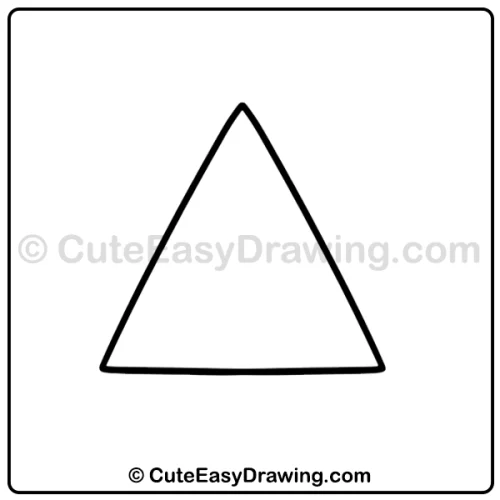
Step 1: Begin with the Triangle
Start with the main outline of the tree. Draw a large triangle with a pointed top and a broad base.
Keep the three sides of the triangle in this cute Christmas tree drawing, smooth and bold.
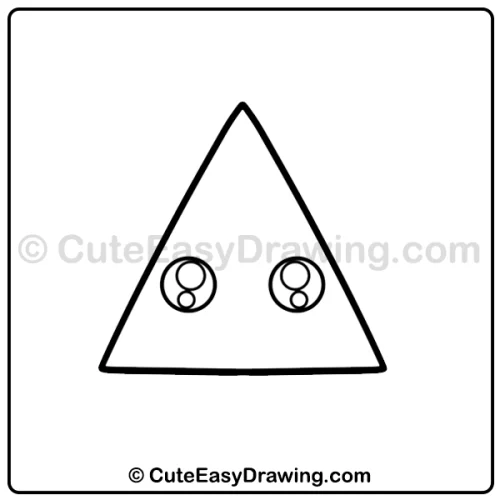
Step 2: Build the Sparkly Eyes
Draw two large eye shapes inside the triangle of this easy Christmas tree art. Add smaller circles inside each eye, using different sizes to create layered details and a lively look.
Keep both eyes at a similar height and leave enough space between them for the smile.
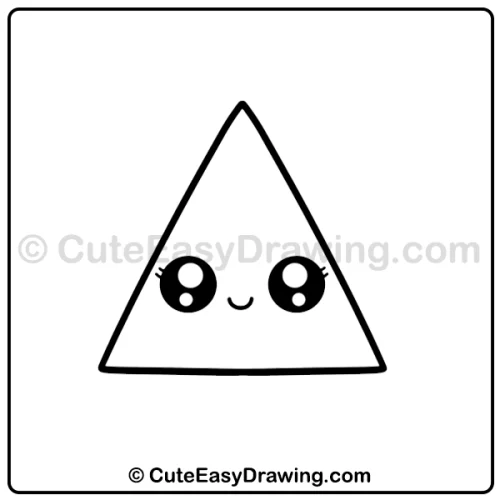
Step 3: Complete the Happy Face
Color the larger sections of the eyes in black while keeping the smaller circles white for bright highlights. Finish the face by drawing a small, curved smile between the eyes of this kawaii Christmas tree drawing.
These simple details give this Christmas tree sketch for kids a cheerful personality.
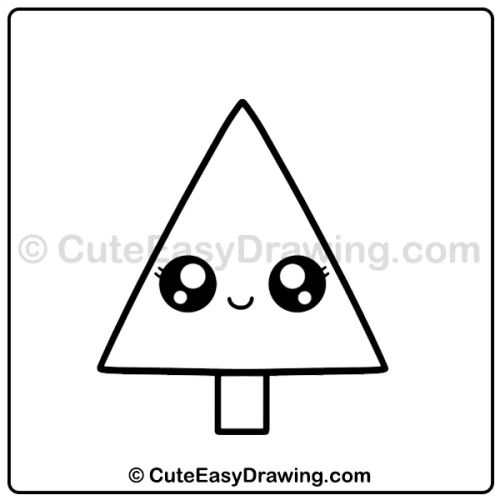
Step 4: Add the Trunk
Next in this Christmas drawing for beginners draw a short rectangular trunk beneath the tree.
Keep it centered underneath the bottom edge of the triangle. The trunk gives the character its recognizable Christmas-tree structure.
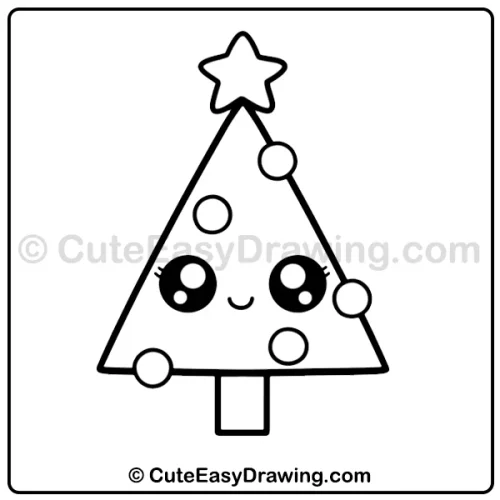
Step 5: Decorate the Tree
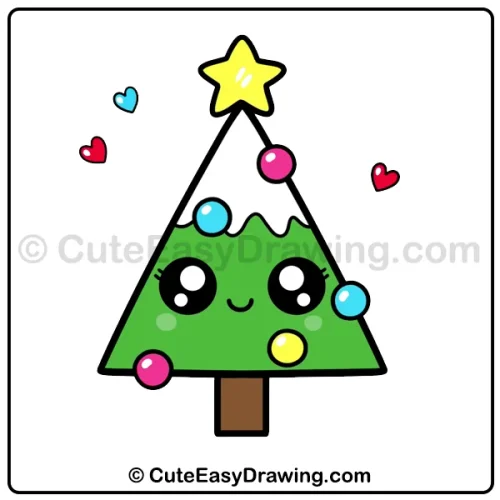
Now add the festive details to this holiday tree drawing. Place the star above the pointed top of the tree. Add several round ornaments along the sides and inside the tree.
Consider making the tree gain a decorative wavy section across its upper-middle area. At this stage, this festive tree drawing for children begins to look much more festive.
Step 6: Finish with Colorful Details
Complete the illustration by adding the final decorative touches to this Christmas tree coloring activity.
Color the tree green, the trunk brown, and the star yellow. Add bright colors to the round ornaments and small hearts. The finished character has a lively expression with sparkling eyes and a colorful holiday appearance.
A Simple Way to Guide Young Artists
Instead of asking children to copy the finished picture immediately, let them follow the visual changes one stage at a time.
- Use the triangle as a reference point: Encourage children to look at the size and position of the first triangle before adding anything else. This makes it easier to keep the later features inside the correct area.
- Check the spacing of the eyes: Before darkening the eyes, pause and compare their positions. If one eye is noticeably higher, gently adjust it before continuing.
- Add decorations after the face: The face is an important central feature. Completing it before the ornaments helps children avoid overcrowding the drawing.
- Leave room for the star: The star extends above the tree, so children should keep some blank space above the triangle from the beginning.
A Bright Finish to the Drawing Activity
What begins as a few straightforward shapes becomes a playful Christmas character through a sequence of small additions. Children can observe how eyes create expression, how the trunk changes the triangle into a tree, and how ornaments and colors give the final picture its festive personality.
The Christmas tree drawing for kids is therefore more than a finished holiday picture—it is a simple visual journey where each stage adds something new. Encourage young artists to follow the sequence, enjoy the coloring stage, and make their own version of the cheerful tree.
FAQs ❓
1. When should children add the colors?
The reference shows coloring toward the later stages. Completing the main outlines first can make the coloring process easier to manage.
2. Should the triangle be perfectly symmetrical?
Not necessarily. A slightly uneven triangle can still make a charming tree. Children can concentrate on getting the overall shape rather than perfect geometry.
3. Why are the eyes added before the decorations?
The eyes and smile form the character’s expression. Adding them first makes it easier to position the decorative elements around the face.
4. Which part can children personalize?
The decorative circles and surrounding hearts offer natural opportunities for creative choices. Children can experiment with different color combinations while keeping the main structure recognizable.
5. Where can we watch the full tutorial?
You can watch the complete drawing tutorial on our YouTube channel.
Cute Easy Drawings – Learn Step-by-step

Free Coloring Pages for Your Inbox!
We’ll never spam you — just fun stuff for you and your little artist. Pinky promise.😊