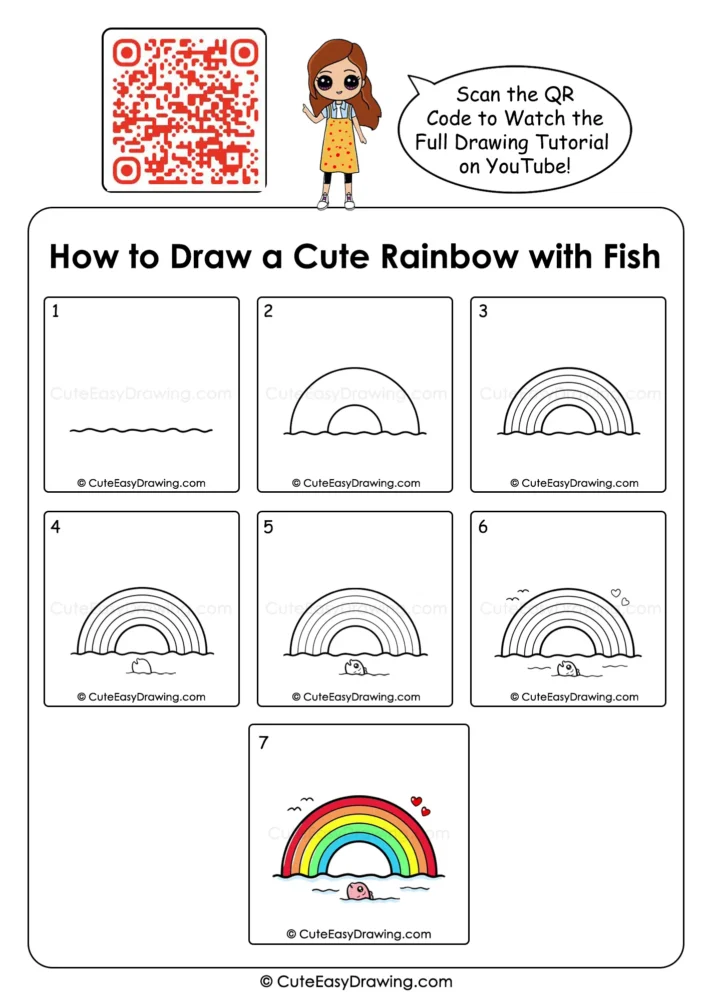
Rainbow scenes can be a wonderful way for children to explore simple shapes while creating a picture that feels like a little story. Instead of tackling a complicated subject all at once, young artists can build the scene gradually, starting with water and adding curved rainbow bands, a cheerful fish, and a few charming details. Along the way, this cute rainbow with fish drawing helps beginners see how a handful of easy lines can grow into a colorful and playful illustration that feels truly their own.
What You’ll Learn in This Drawing
Why This Rainbow Scene Is a Great Choice for Kids
Here are some reasons this tutorial can be especially enjoyable:
- The structure is easy to follow: The rainbow is built from repeated curved arches, so children can understand the pattern as they work.
- There is a clear focal point: The little fish gives the finished picture a friendly character that children can enjoy.
- Coloring becomes part of the learning: The final stage introduces several bright colors without requiring complicated shading.
- The picture develops gradually: Seeing something recognizable appear after every few steps can encourage children to keep going.
- It leaves room for personality: Small details such as the fish, hearts, birds, and water lines make the scene feel lively.
Materials for This Little Art Project
- Pencil
- Eraser
- Drawing paper
- Black marker or fine-tip pen
- Crayons, colored pencils, or sketch pens
Watch the Tutorial 🎥

You can watch the full step-by-step rainbow fish drawing for kids tutorial on our YouTube channel to draw along easily with your child.
7 Stages of This Cute Rainbow with Fish Drawing
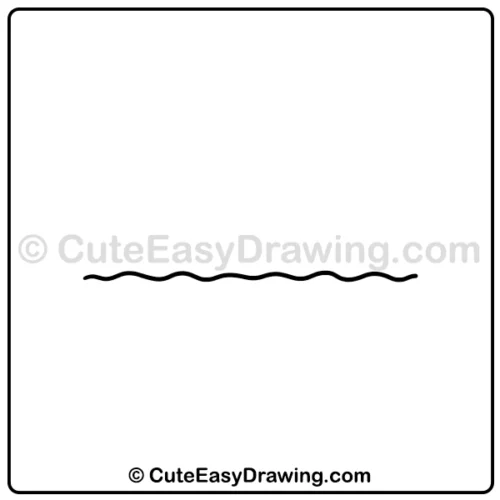
Step 1: Set the Waterline
Begin this cute rainbow drawing near the lower-middle part of the paper with one gentle wavy line. This becomes the surface of the water and gives you a useful starting point for the entire scene.
Try to keep the line fairly long and relaxed. It does not need to be perfectly-even because the small waves help create a playful look.
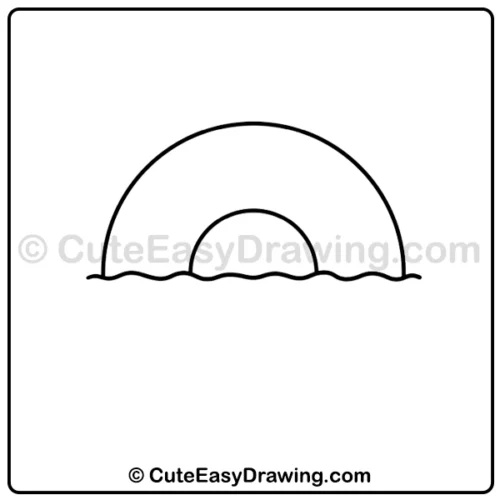
Step 2: Frame the First Rainbow Arches
Next in this rainbow fish drawing for kids place a large rounded arch above the waterline. Then add a smaller arch inside it.
Leave the bottom portions of the arches meeting the wavy water surface. These two curves of this fish drawing for kids establish the basic rainbow shape without requiring complicated measurements.
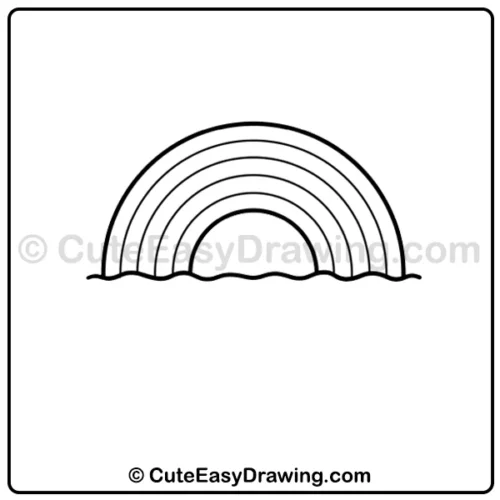
Step 3: Build the Rainbow Bands
Continue adding curved arches between the outside and inside shapes of this rainbow drawing for beginners. Keep the curves following the same general path so that the spaces between them remain reasonably even.
At this stage, the rainbow should have several distinct bands ready for coloring later.
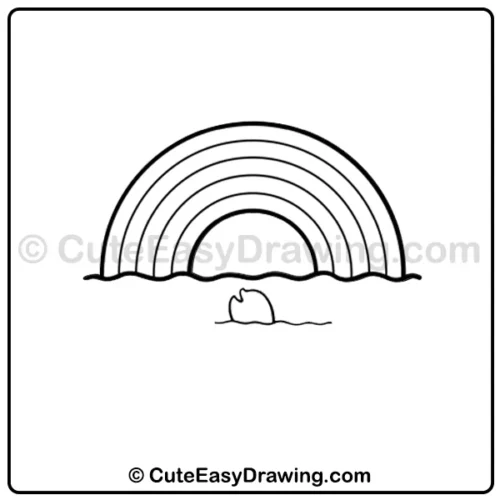
Step 4: Let a Little Fish Appear
Under the rainbow, sketch the upper part of a small fish rising from the water. Keep its body rounded and compact.
Only part of the fish is visible above the water in this easy rainbow drawing, which gives the scene a fun sense of movement.
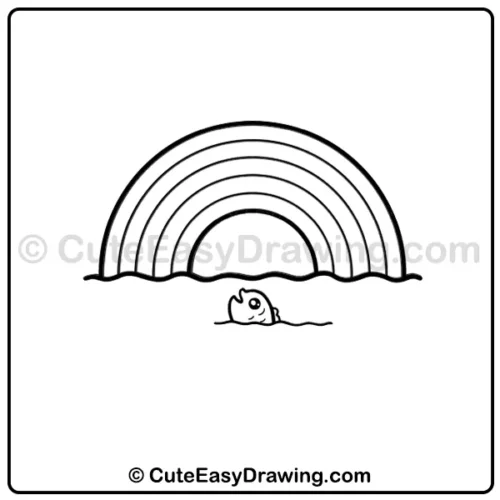
Step 5: Give the Fish Its Character
Add the fish’s eye and small facial details next in this colorful rainbow drawing. Complete the visible body and fin lines so that it looks like a cheerful little character swimming below the rainbow.
Simple features are enough in this beginner drawing activity. The charm comes from keeping the fish small compared with the large rainbow behind it.
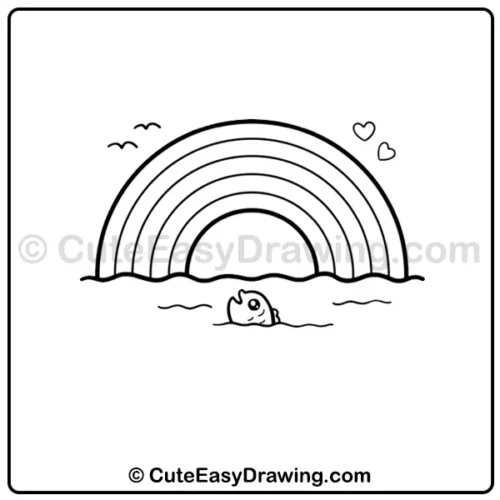
Step 6: Add the Playful Finishing Details
Next in this simple fish drawing draw a few short water ripples around the fish. Then add the small bird-like marks above the rainbow and the heart shapes near the opposite side.
These details are not complicated, but they make the picture feel more like a complete scene rather than a collection of separate shapes.
Step 7: Fill the Picture with Color
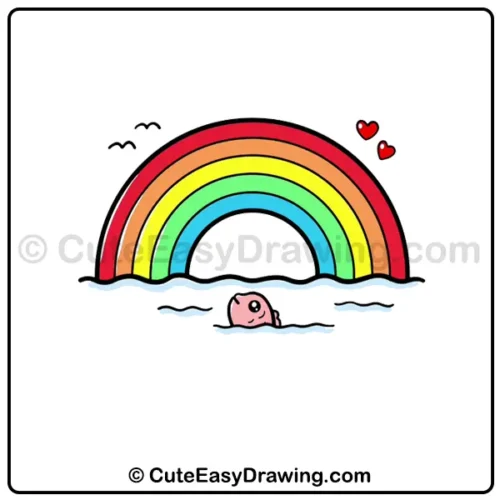
Now bring this rainbow and fish art for children together with color. Follow the finished example with red, orange, yellow, green, and blue across the rainbow bands.
The fish can be colored pink, while the hearts are red. Add a soft light-blue touch around the water if desired, while keeping the background white.
Let the black outlines remain clear so the different parts of the picture are easy to recognize.
Smart Ways to Make the Drawing Easier
- Use a larger sheet: Extra space makes the rainbow arches easier to control and gives children more room for the fish and water details.
- Mark the rainbow’s center first: A tiny light pencil mark can help children keep the arches balanced on both sides.
- Take a shape-by-shape approach: Instead of thinking about the whole picture, ask children to focus only on the current arch, fish, ripple, or small decoration.
- Check the outline before coloring: A quick look at the finished pencil sketch can catch missing lines before the marker or crayons are added.
- Leave breathing room around the picture: Keeping some white space around the rainbow makes the central scene stand out.
The Finished Rainbow Scene
With the final colors added, the picture comes together as a cheerful scene where a bright rainbow arches over the water and a tiny fish swims below, joined by playful ripples, hearts, and little bird marks. A cute rainbow with fish drawing gives children a chance to see how simple curves and small details can grow into a complete illustration, while the finished artwork encourages them to experiment with their own colors, characters, and creative touches.
FAQs ❓
1. Should children draw the rainbow before the fish?
Yes. Building the rainbow first gives children a clear idea of where the waterline sits and how much space remains for the fish.
2. How can a child keep the rainbow arches from becoming uneven?
Encourage them to begin each arch around the same center point and follow the previous curve gradually. Small differences are completely fine in a hand-drawn picture.
3. Does the fish need to be exactly the same size as the tutorial?
Not at all. A slightly larger or smaller fish can make the artwork feel more personal. The important part is keeping enough space for it below the rainbow.
4. What if the rainbow bands are different widths?
That is okay. Children do not need mathematical precision for this activity. Uneven bands can give the finished picture a natural handmade quality.
5. Where can we watch the full tutorial?
You can watch the complete drawing tutorial on our YouTube channel.
Cute Easy Drawings – Learn Step-by-step

Free Coloring Pages for Your Inbox!
We’ll never spam you — just fun stuff for you and your little artist. Pinky promise.😊