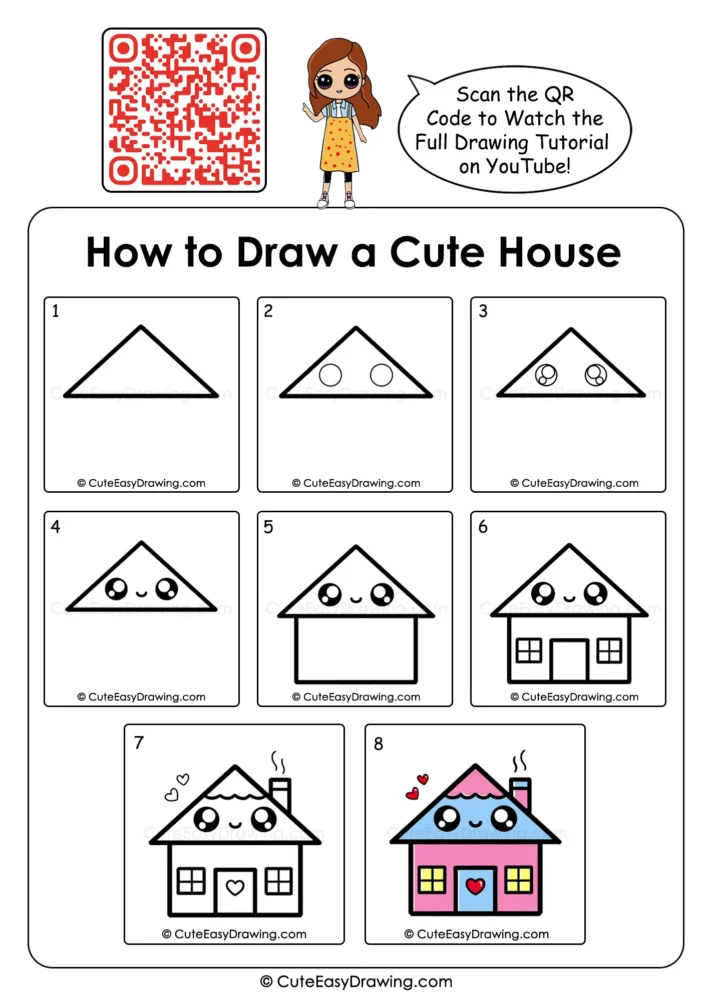
Turn a few simple lines into a cheerful little home with this easy drawing activity. Children can draw a cute house by building the picture step by step, adding friendly eyes, a tiny smile, windows, a door, a chimney, and charming decorative details along the way. The clear progression makes the activity approachable for beginners while giving young artists plenty of opportunities to enjoy shapes, expressions, and bright colors.
What You’ll Learn in This Drawing
What Makes This House Drawing Special?
- The simple structure helps beginners follow along with ease.
- The friendly face makes the house feel playful and lively
- The short stages keep young artists focused.
- Different shapes introduce children to basic drawing forms.
- Kids can experiment with their own color combinations
Simple Supplies for the Activity
Keep the setup uncomplicated so children can concentrate on drawing.
- Drawing or sketch paper
- Black marker or dark sketch pen
- Pencil
- Sketch pens, colored pencils, or crayons
- Eraser
- Optional ruler for children who want straighter house lines
Watch the Tutorial 🎥

You can watch the full house drawing step by step tutorial on our YouTube channel to draw along easily with your child.
8 Easy Stages to Draw a Cute House
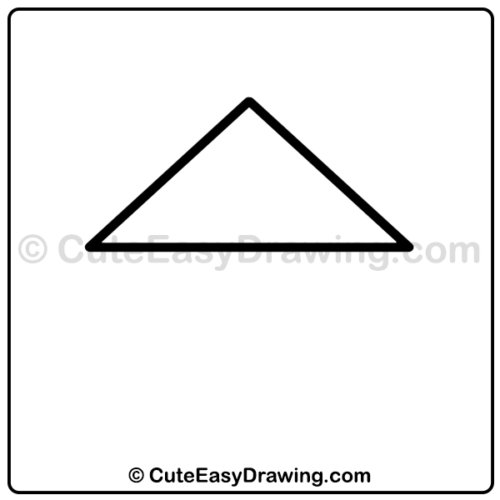
Step 1: Build the Roof Outline
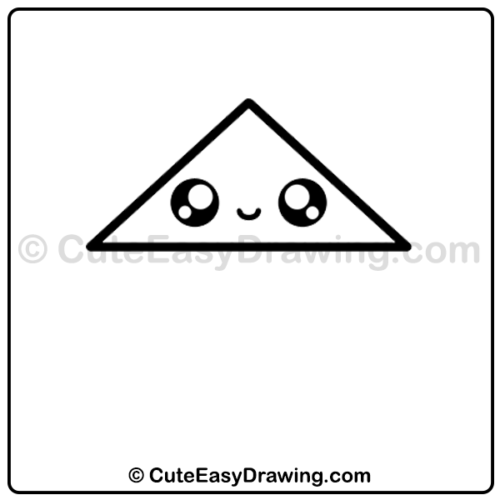
Start this cute house drawing for kids with the most recognizable part of the house. Draw a large triangle with two sloping sides and a straight horizontal line across the bottom. Keep the lines bold and simple.
This triangle will later become the character’s roof and face area.
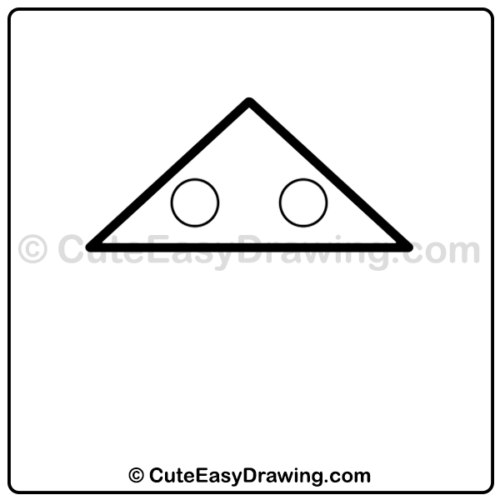
Step 2: Shape the Friendly Eyes
Add two round shapes inside the triangular section of this easy house drawing for beginners. Leave enough space between them for the little face that will appear later.
Try to keep the eyes roughly similar in size, but they do not need to be perfectly identical.
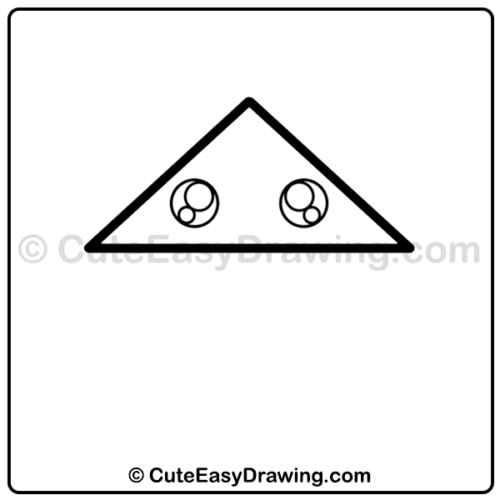
Step 3: Build the Eye Expression
Add smaller circular shapes inside each eye. These inner circles will become the highlights that give this finished kawaii house drawing its bright, lively appearance.
Take your time with their placement so both eyes look balanced.
Step 4: Draw the Sweet Smile
Fill the main portions of the eyes with black, leaving the inner highlight areas uncolored. Then place a small curved smile between the eyes of this cartoon house drawing.
At this point, the roof begins to look like a friendly character rather than an ordinary geometric shape.
Step 5: Give the House a Body
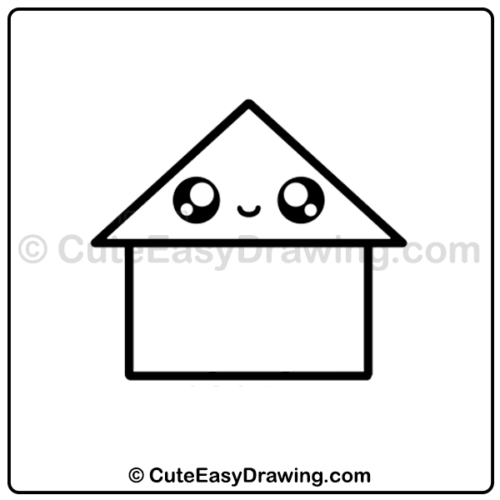
Draw a rectangular structure beneath the roof next in this simple house drawing. Extend the side walls downward and connect them with a straight bottom line.
Keep the body wide enough to leave room for the windows and entrance that will be added next.
Step 6: Add the Windows and Door
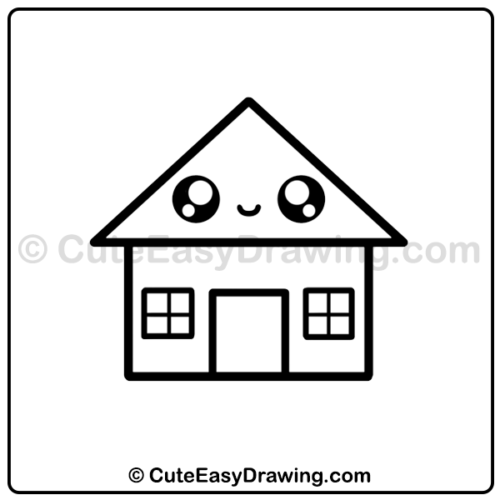
Create a small square window on each side of the front wall of this cute house art for children. Divide each window into four panes.
In the middle, draw a taller rectangular door. The simple arrangement gives the house a recognizable front without adding unnecessary detail.
Step 7: Finish the Character Details
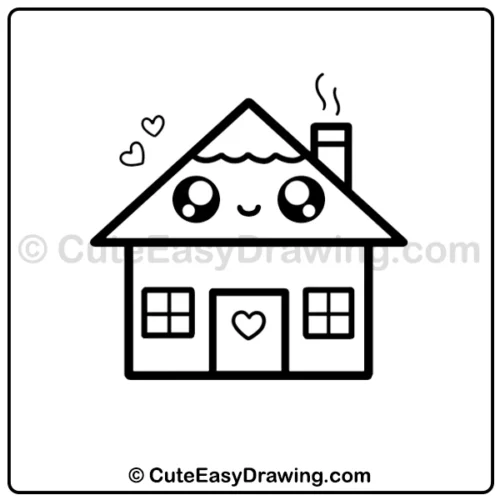
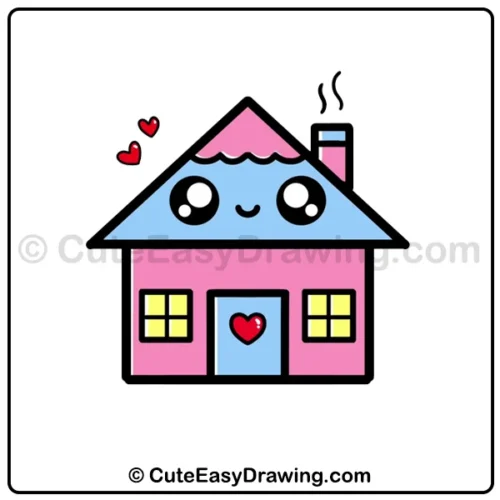
Now add the decorative elements shown in the tutorial of this colorful house drawing. Draw the wavy roof trim, place the chimney on the upper-right side, and add two small hearts beside the roof.
Finish the door with a heart-shaped detail. These additions give the house its playful personality and make the final illustration more expressive.
Step 8: Bring the Illustration to Life with Color
The final stage in this easy drawing activity for kids is where the house becomes colorful. In the finished example, the main walls are pink, the roof face is light blue, and the upper roof section is pink. The windows use bright yellow, while the door includes blue and a red heart.
The chimney also receives blue and pink details, while the hearts beside the house are red. Children can follow these colors or invent their own cheerful combination.
Little Tricks for Better Results
- Start with light marks so changes are easy to make.
- Keep the paper steady while working on small details.
- Work on one section at a time instead of rushing.
- Fill larger areas first, then move to smaller details.
- Add personal touches after the main house is complete.
A Happy Little Finish
Completing this project helps children see how simple shapes can become a lively piece of art. As they draw a cute house, they practice forming lines, placing details, and making creative color choices while developing patience and visual skills. Once finished, they can add a garden, clouds, trees, or other fun elements to turn the house into a tiny world of their own.
FAQs ❓
1. Should children outline everything with a marker?
Not necessarily. They can first use a pencil and trace selected lines with a marker after they are happy with the shape.
2. What if the two eyes are not exactly the same?
That is completely fine. Small differences can give the character its own expression. Children should focus on enjoying the process rather than achieving perfect symmetry.
3. Can the house be colored differently from the example?
Yes. The demonstrated colors are simply one creative option. Children can choose pastel shades, bright colors, or a completely different palette.
4. How can parents make this activity more engaging?
Let the child make some of the design decisions. Ask questions such as which color the roof should have, who might live in the house, or what the surrounding garden should look like.
5. Where can we watch the full tutorial?
You can watch the complete drawing tutorial on our YouTube channel.

Cute Easy Drawings – Learn Step-by-step

Free Coloring Pages for Your Inbox!
We’ll never spam you — just fun stuff for you and your little artist. Pinky promise.😊